Typography
Our theme allows you to fully control the typography from fonts to the calibration of all font-weight options (Light, Normal, Medium, Semi Bold, Bold, Extra Bold).
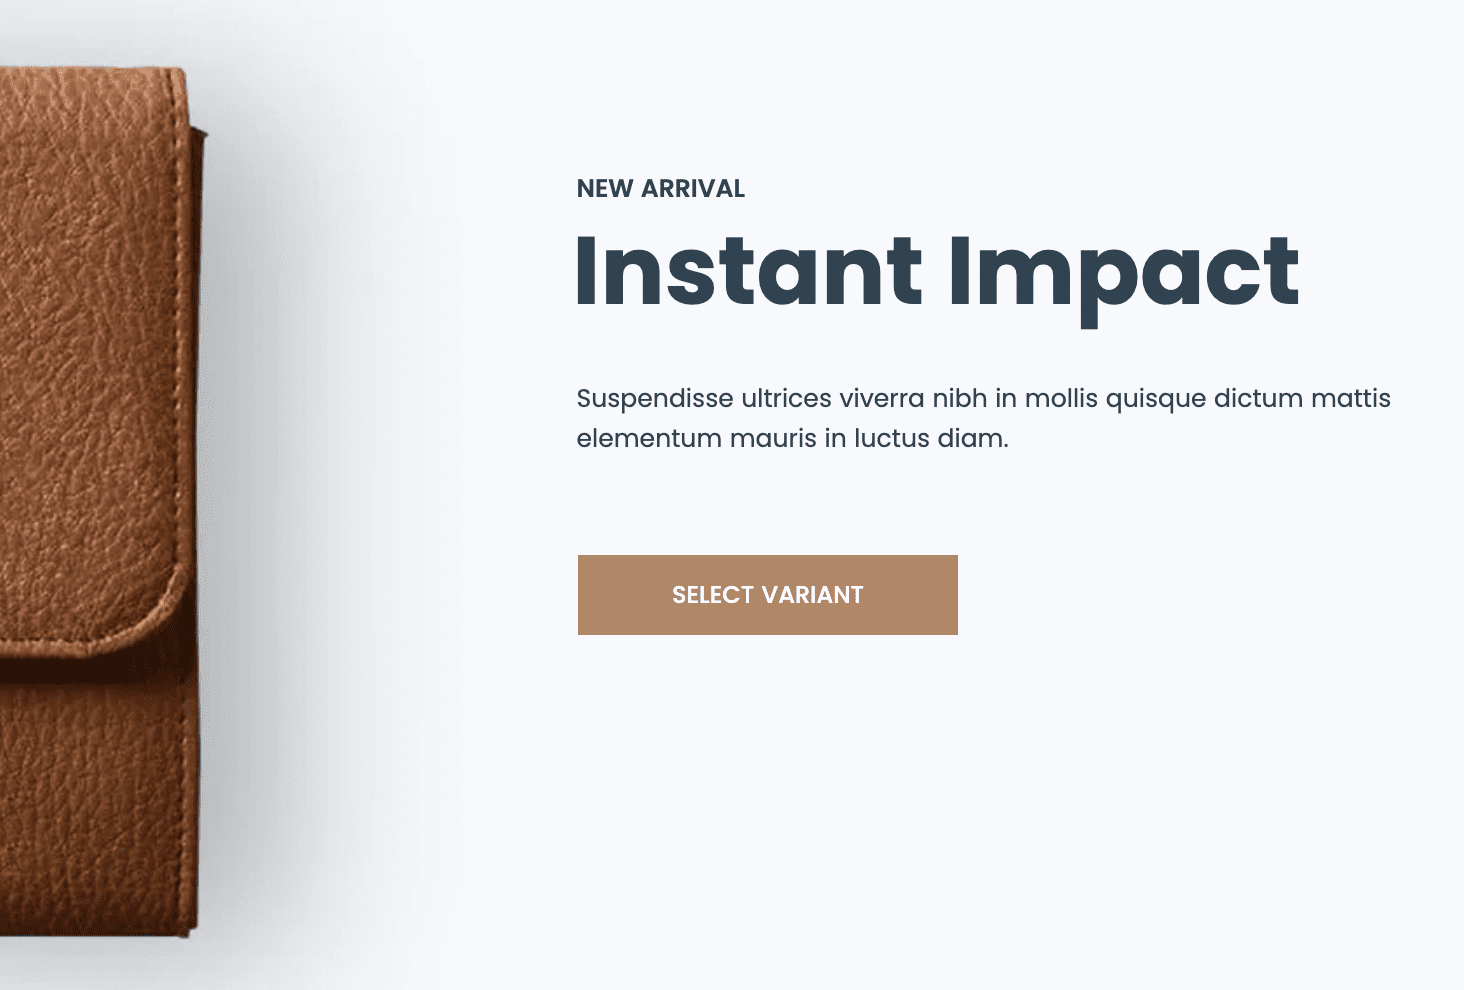
Examples of the same text with different font-family and font-weight:


Examples of different banners and headings font-family / font-weight sets:
How to change fonts on Shopify
You can customize your own font and font weight configuration for all texts altogether and separately for headings and banners.
It is possible to select a font from three sources in our theme:
Steps to set global text font
- From your Shopify admin, go to Online Store > Themes.
- Find the Lumia theme that you want to edit, and then click Customize.
- Click Theme settings.
- Click Typography.
- In the Body fieldsgroup fill in one of the three variants:
- Select Shopify library font from the Font source field and select font from the Shopify library font field.
- Select Google font from the Font source field and enter google font name in the Google font name field or select preset google font name which is used in the theme from the or select preset google field.
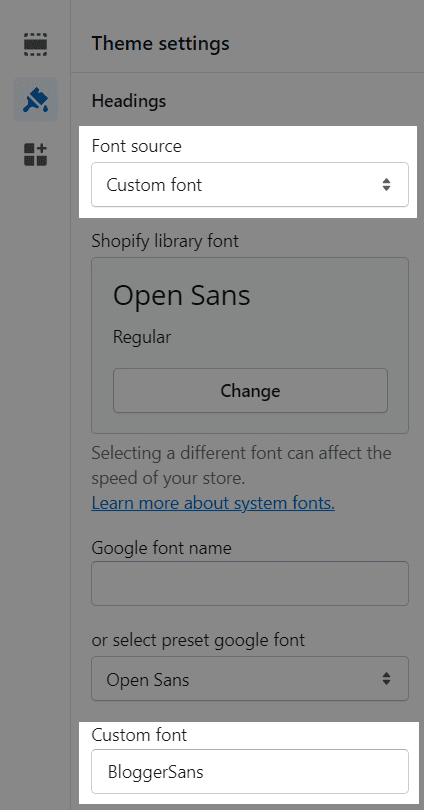
- Select Custom font from the Font source field and enter custom font name in the Custom font field.
- Click Save.
Steps to set headings and banners font
- From your Shopify admin, go to Online Store > Themes.
- Find the Lumia theme that you want to edit, and then click Customize.
- Click Theme settings.
- Click Typography.
- In the Headings fieldsgroup fill in one of the three variants:
- Select Shopify library font from the Font source field and select font from the Shopify library font field.
- Select Google font from the Font source field and enter google font name in the Google font name field or select preset google font name which is used in the theme from the or select preset google field.
- Select Custom font from the Font source field and enter custom font name in the Custom font field.
- Click Save.
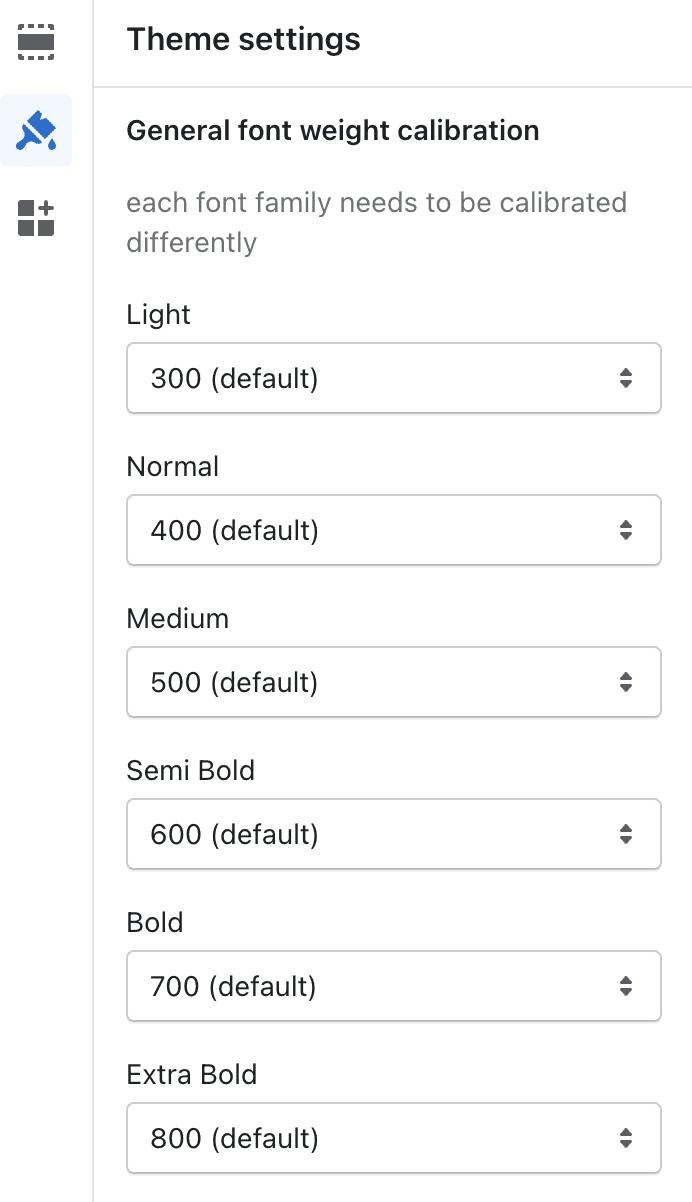
Font weight calibration
Each font family often needs to be calibrated differently, because each font has its own understanding of the level of weight. That is why we allow you to change default font-weight options. You can separately calibrate the font weight both globally and separately for banners.
|
|
Steps to calibrate font weight
- From your Shopify admin, go to Online Store > Themes.
- Find the Lumia theme that you want to edit, and then click Customize.
- Click Theme settings.
- Click Typography.
- There are two filedsgroups General font weight calibration and Banners font weight calibration. Select own value in the Light, Normal, Medium, Semi Bold, Bold, Extra Bold, Black (Heavy) fields of each fieldsgroup.
- Click Save.
Thus, you can calibrate default font weight. The most useful feature if you don't usee default fonts.
How to add custom fonts to Shopify
If you want to use a font that's not included in Shopify's font library nor in Google's font library, then you can use fonts from third party solutions. Follow these steps to include the custom font in your theme:
-
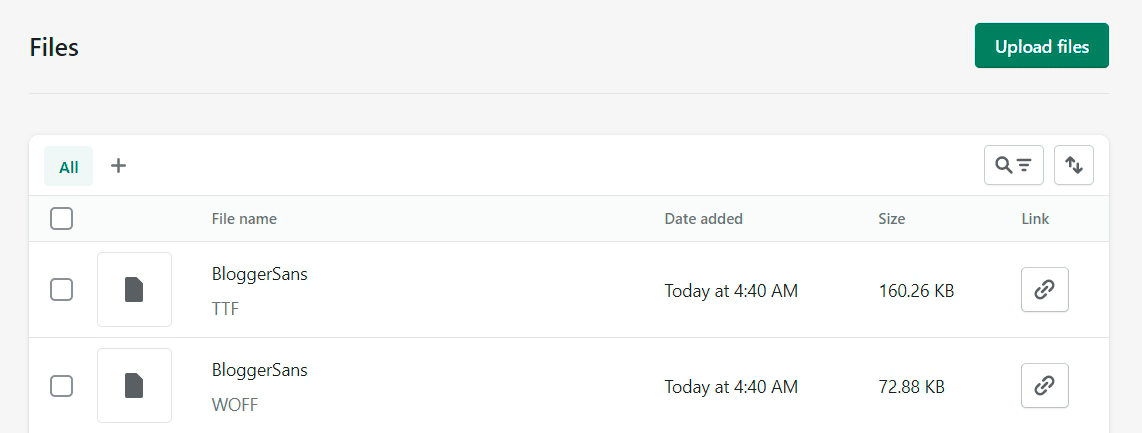
Upload the font files to the Settings > Files section of the Shopify admin.
We have added two files (*.woff and *.ttf) of the font BloggerSans (opens in a new tab)

-
From your Shopify admin, go to Online Store > Themes.
-
Find the Lumia theme that you want to edit, and then click Edit code.
-
Open the folder Asssets in the directory on the left side and then open the file font.css.liquid.
Edit the example code, by replacing myfont with your custom file name.
In the case of this example, the code looks like this:@font-face { font-family: "BloggerSans"; src: url('{{ "BloggerSans.woff" | file_url }}') format("woff"), /* All modern Browsers */ url('{{ "BloggerSans.ttf" | file_url }}') format("truetype"); /* Safari, Android, iOS */ }Instead BloggerSans should be the name of your font.
All modern browsers support (opens in a new tab) WOFF format.
If you don't need legacy browsers support, just use *.woff file.Click Save button.
-
Click Theme settings.
-
Open Typography.
-
If you want to change global text font, then in the Body fieldsgroup select Custom font from the Font source field and put custom font name in the Custom font field.
If you want to change only font for headings and banners, then in the Headings fieldsgroup select Custom font from the Font source field and put custom font name in the Custom font field.

Click Save button.
Icons
Lumia uses a lot of icons to represent visual information. There are a ready-made collection of icons that you can use when setup your store. You can also view all the icons on the Typography Page ↗ (opens in a new tab).
![]()
![]()
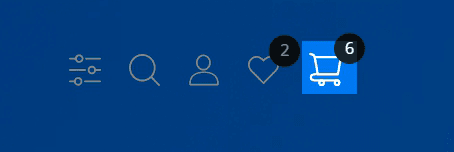
Icons in the header
Social icons
![]()
Icons in the bottom panel
Each icon is a separate SVG file. All icons files are placed in the Snippets folder of your store. You can modify it, but we do not recommend doing so. It's better to add new ones.
An example how to add a new icon is described below.
Steps to add new icon
-
First of all you need an icon in svg format.
As an example we can recommend some resources where you can find free or paid icons:Try to choose icons that will not stand out from the rest.
Icons should be approximately the same size and the same line weight. -
From your Shopify admin, go to Online Store > Themes.
-
Find the Lumia theme that you want to edit, and then click Edit code.
-
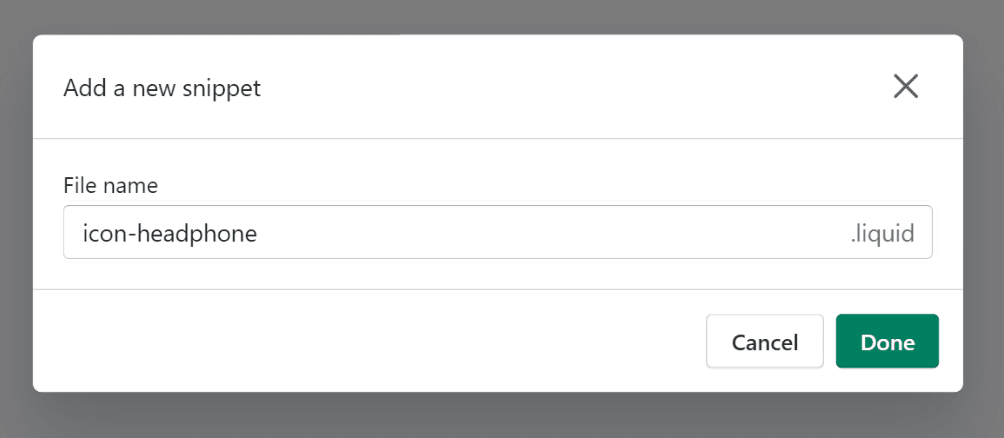
Open the folder Snippets in the directory on the left side and click Add news asset.
In the popup window put the name of your new icon in the File name fieldand click Done button.
For example, we had creating a headphones icon, so we called it icon-headphone.
-
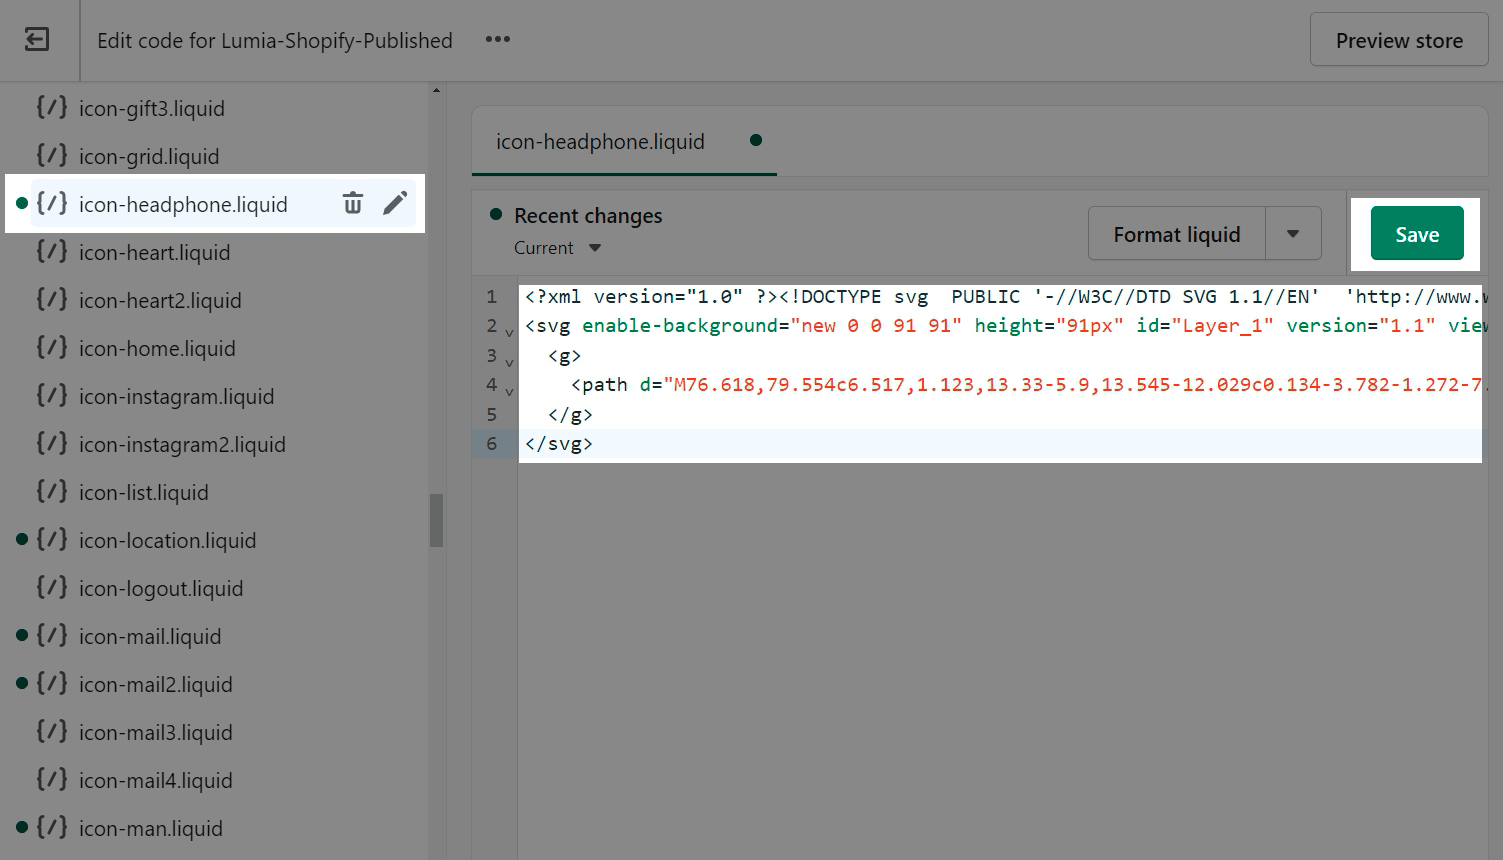
Paste in the file of the code editor (on the right side) the code of your icon.
Then click Save button.
-
Open the folder Snippets in the directory on the left and then open the file icon.liquid. Scroll down and before lines:
else
render 'placeholder'
add two strokes:
when 'icon-headphone'
render 'icon-headphone'
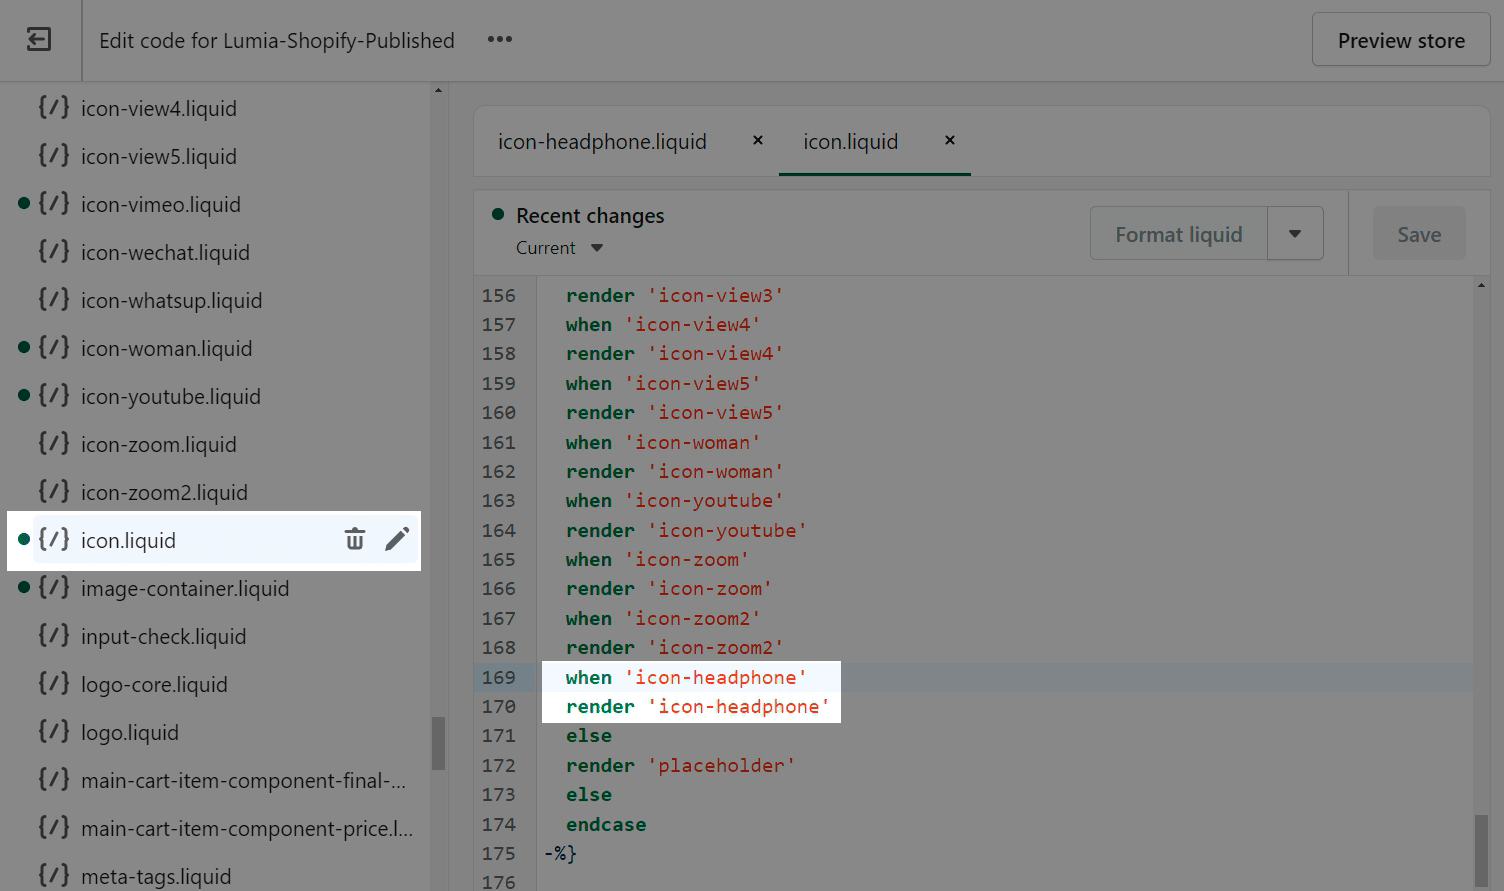
Click Save button.
-
The icon has been added. Now you can use it when setting up your store.
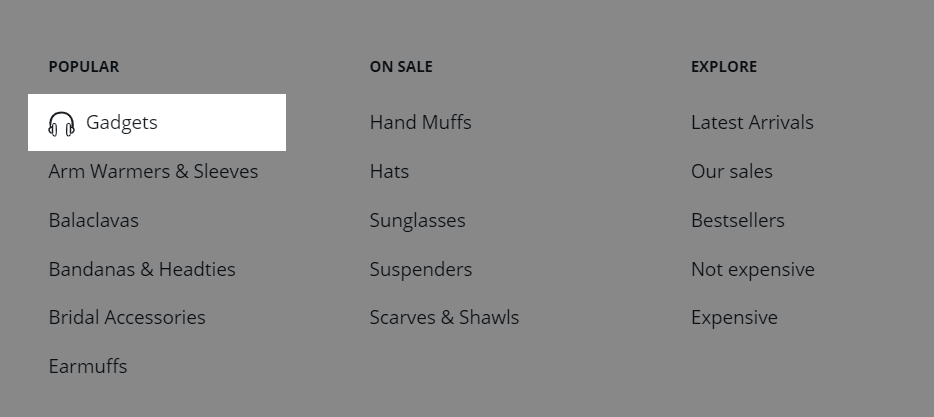
How to add an icon to Navigation
-
From your Shopify admin, go to Online Store > Navigation.
-
On the Navigation page, click the title of the menu that you want to edit.
-
Click Add menu item or click on the Edit button near the menu item if it was created before.
-
In the Name field after the item name paste code |icon:icon-headphone.

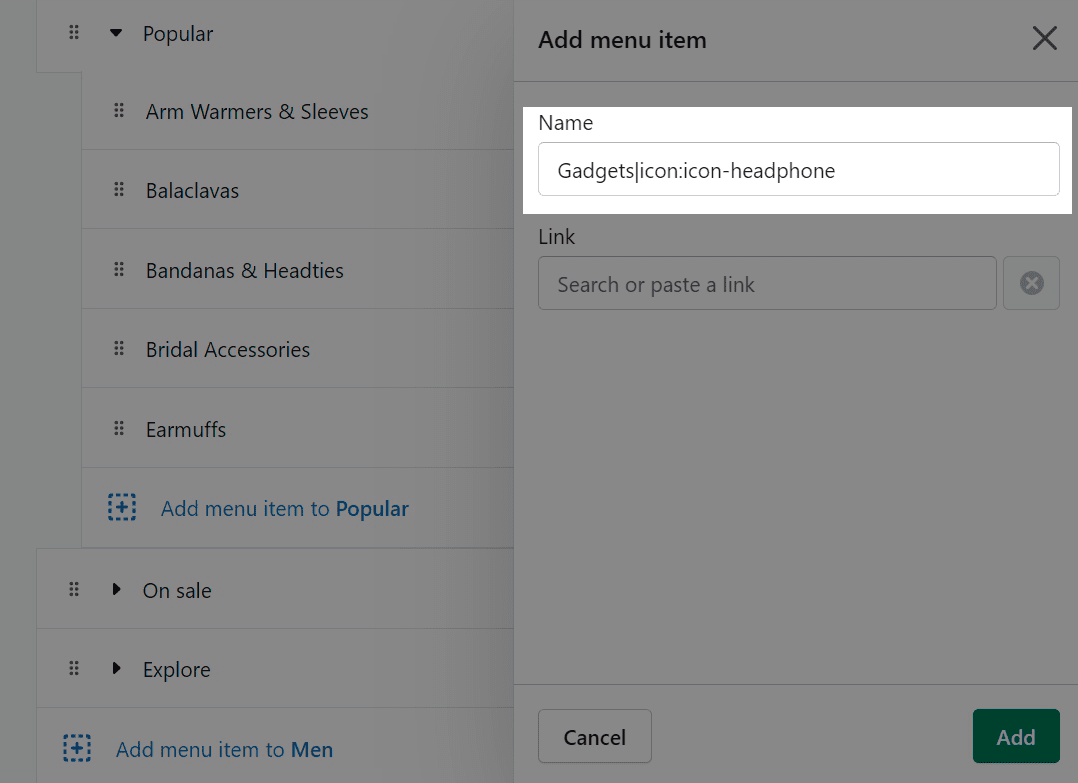
Click Save button.
-
The icon will appear near the menu link.

How to change other icons
Perhaps you have an idea to change others icons? Such as cart icon, wishlist icon, phone icon, etc.?
This is a more difficult task and it will require certain skills from you.
After the icon is added, you can add it to the Liquids files in two ways.
Liquid is a template language created by Shopify.
{% render 'your-icon-name' %}OR
{% render 'icon', icon: your-icon-name %}As an example, take a look at the step-by-step instructions for changing an icon in the Header.
How to change cart icon in the Header
-
Add a new icon following steps 1-7 here.
We have added supermarket trolley icon and called it icon-trolley
-
Open the folder Snippets in the directory on the left and then open the file cart-icon-bubble.liquid. Replace coden:
{% render 'icon-cart-2' %}with this one:
{% render 'icon-trolley' %}Instead icon-trolley should be the name of your icon. Click Save button.
-
The new icon will appear in the Header.

Typography presets
With the help of presets, you can change the typography of the store on the fly. This is very suitable for quick store builds.
Steps to apply typography presets
-
From your Shopify admin, go to Online Store > Themes.
-
Find the Lumia theme that you want to edit, and then click Customize.
-
Click Theme settings.
-
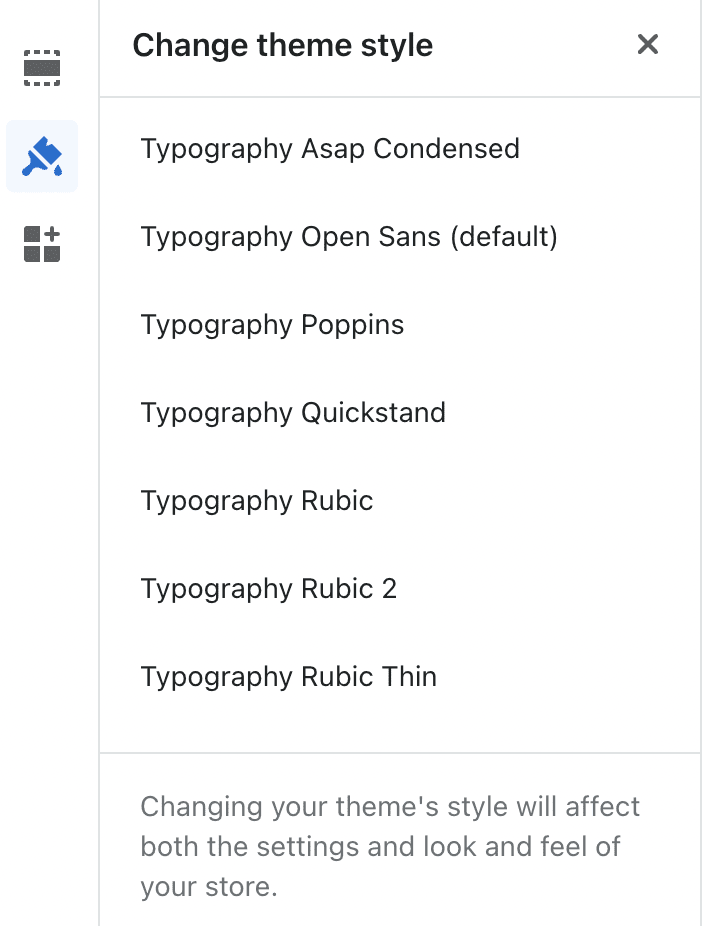
Click Theme style.
-
Click on the typography preset you need.

-
Click Change style to preview changes.
-
Click Save if you like new style.
Typography Asap Condensed


Typography Open Sans default


Typography Poppins


Typography Quickstand


Typography Rubic


Typography Rubic 2


Typography Rubic Thin

