Instagram is one of the most popular social media platforms. Thus, Instagram section is a must have widget as social proof of your store brand. It helps you establish brand awareness and a great way to supercharge user engagement and skyrocket customer conversions.
Instagram / Constructor
Follow the instruction here, but search the section named Instagram / constructor.
To make your shop setup easier, we have created four presets of Instagram section.
But you can always make each of them yourself manually in the constructor section.
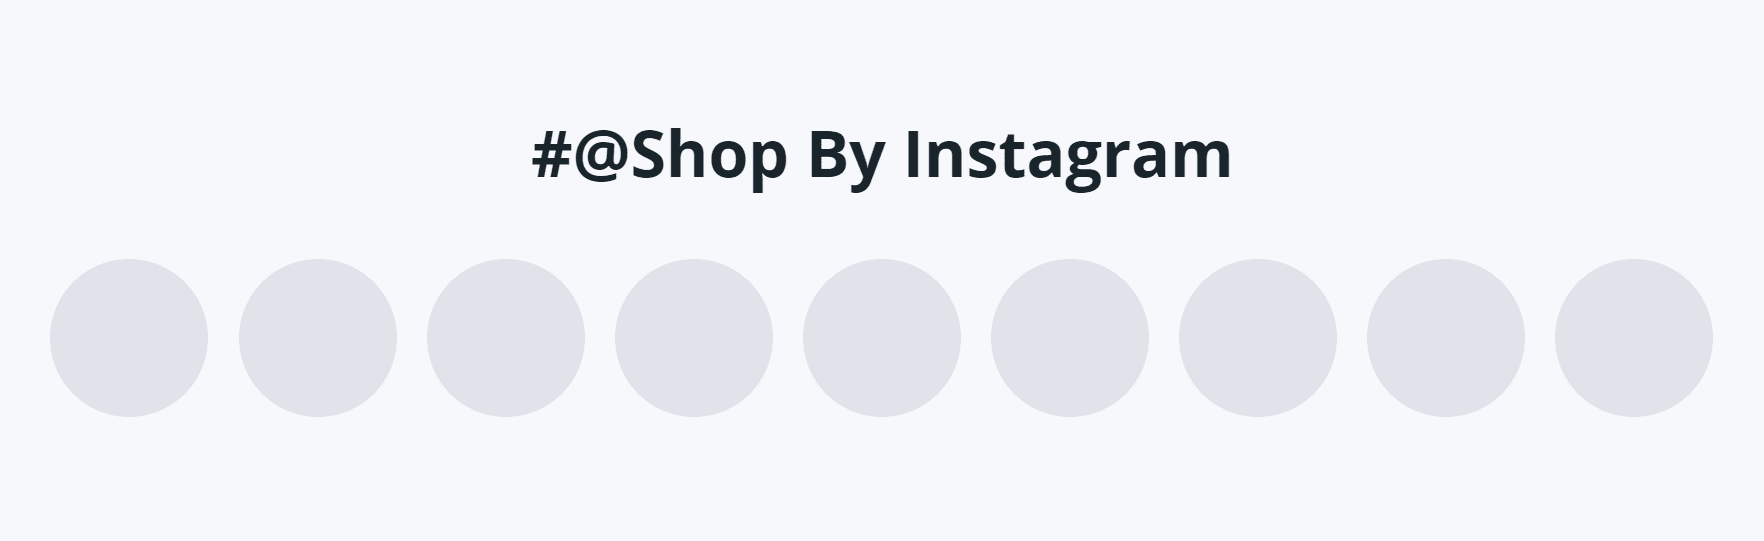
Instagram / preset 1 Grid of circles
Live example ↗ (opens in a new tab)
Follow the instruction here, but search the section named Instagram / preset 1 Grid of circles.
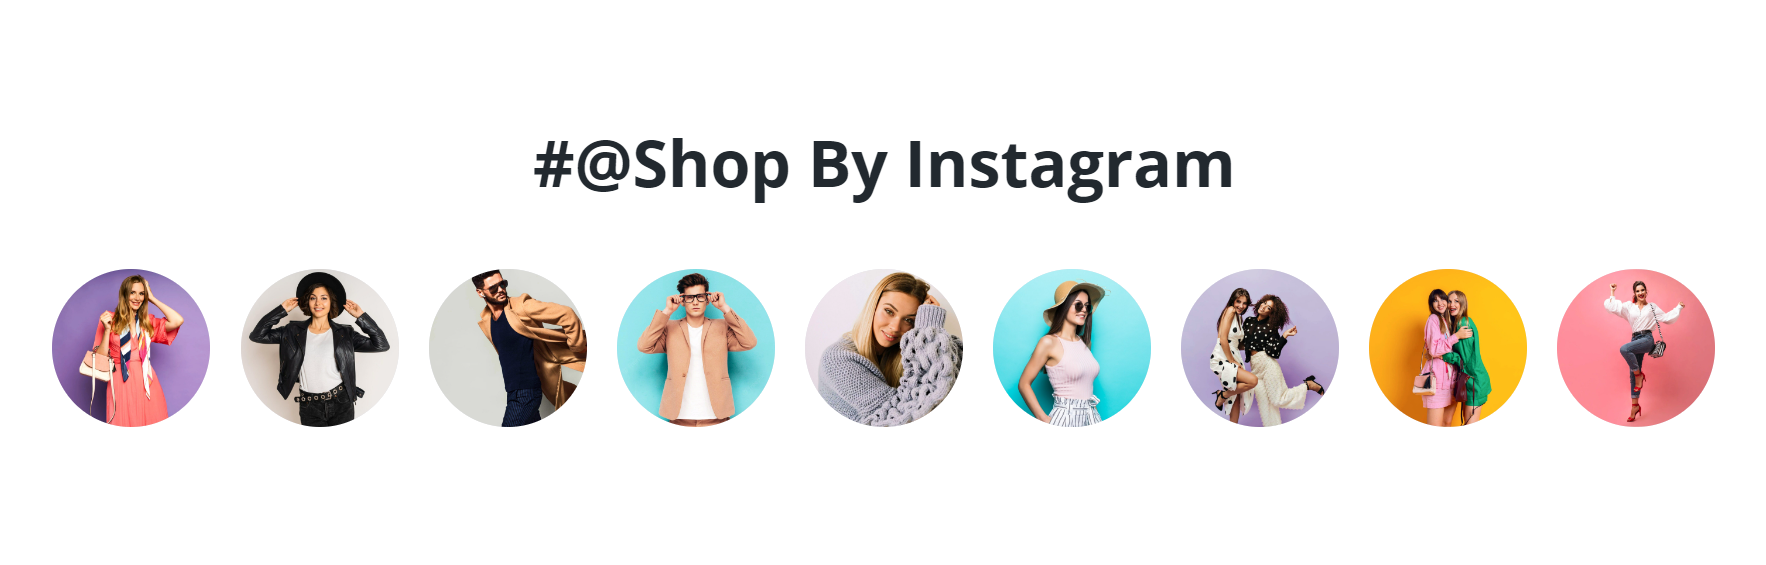
Instagram / preset 2 Grid of squares
Live example ↗ (opens in a new tab)
Follow the instruction here, but search the section named Instagram / preset 2 Grid of squares.
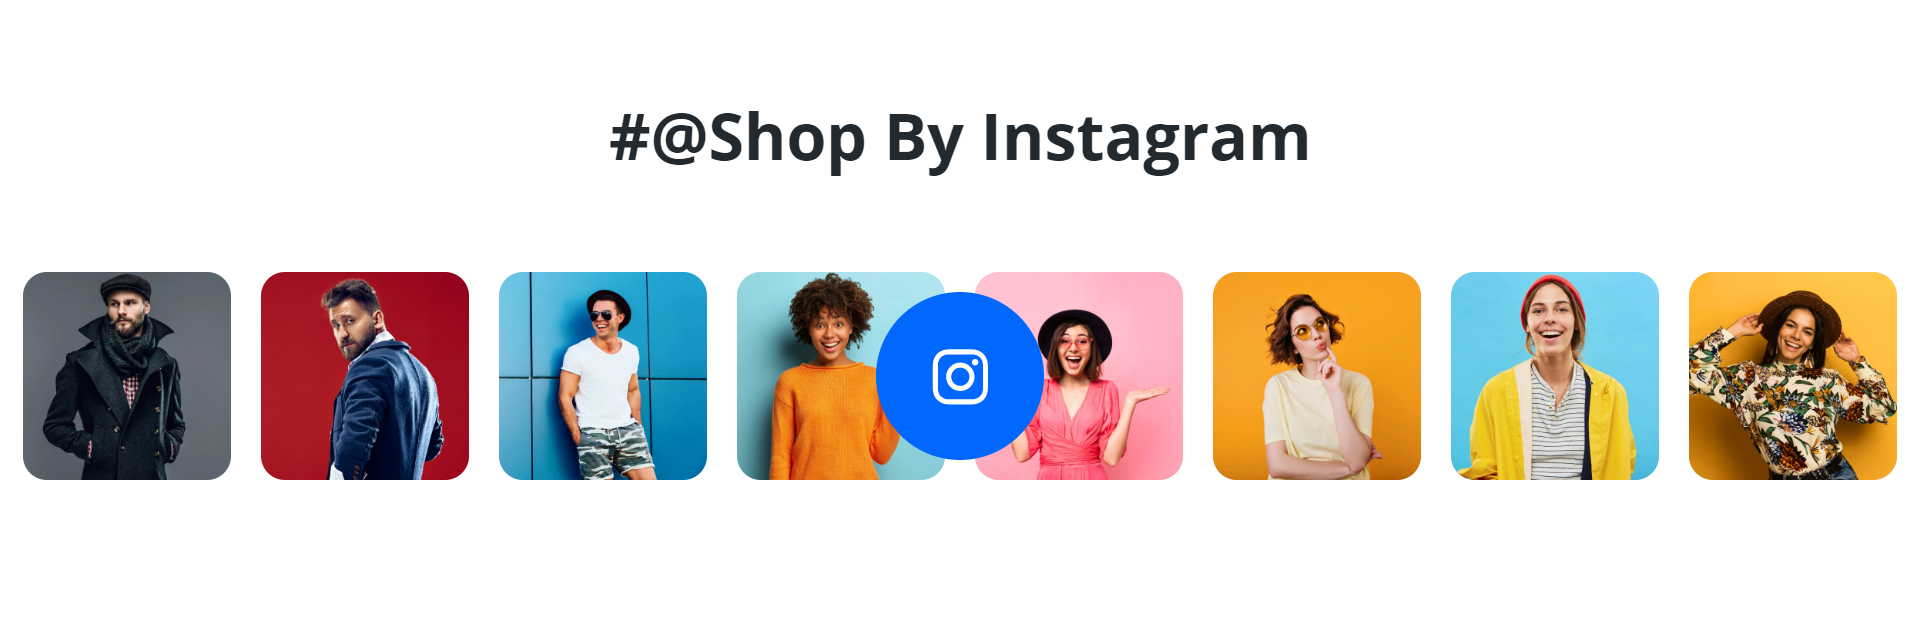
Instagram / preset 3 Grid of squares

Live example ↗ (opens in a new tab)
Follow the instruction here, but search the section named Instagram / preset 3 Grid of squares.
Instagram / preset 4 Carousel of squares

Live example ↗ (opens in a new tab)
Follow the instruction here, but search the section named Instagram / preset 4 Carousel of squares.
How to get Instagram access token
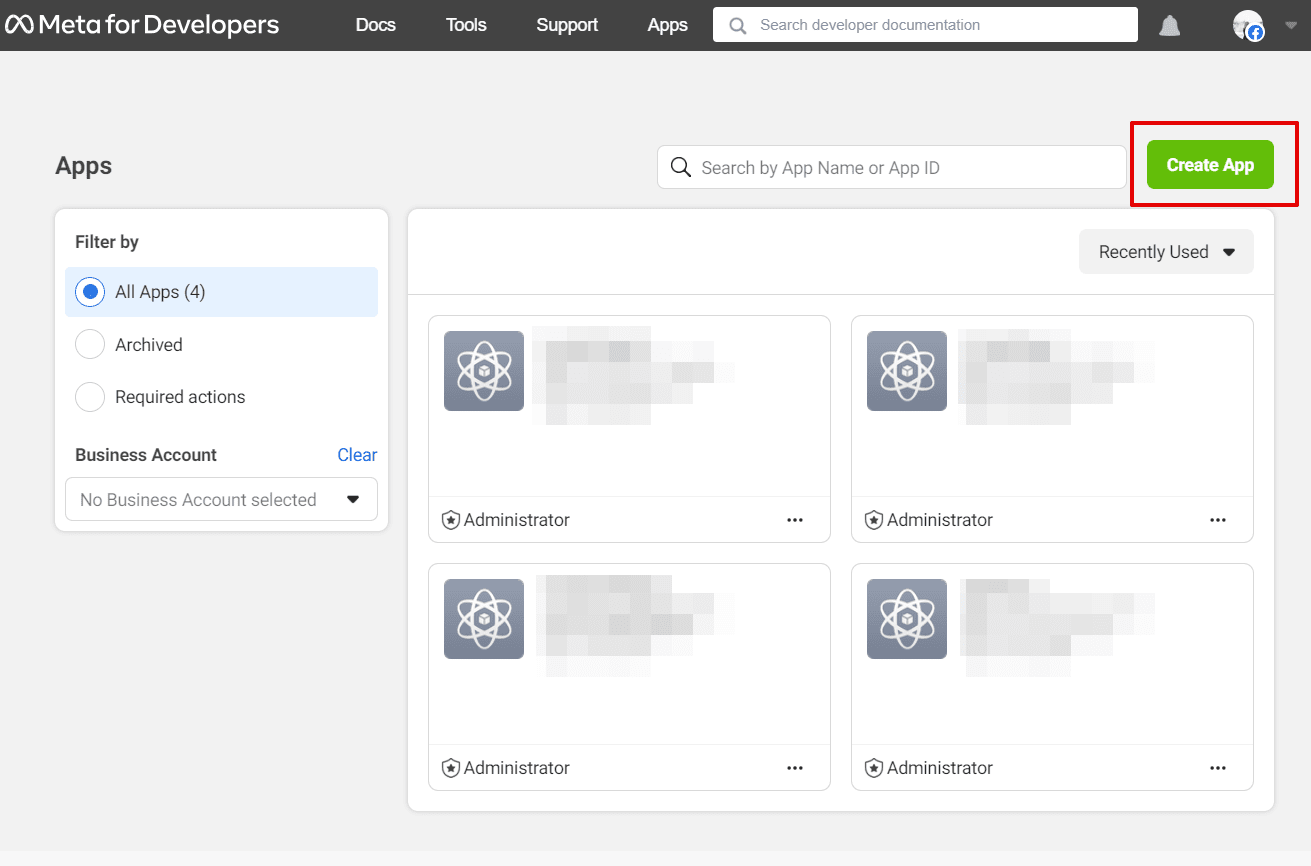
Go to Facebook Developers account developer.facebook.com↗ (opens in a new tab).
- Click on My Apps to continue.
- Click on Create App button.
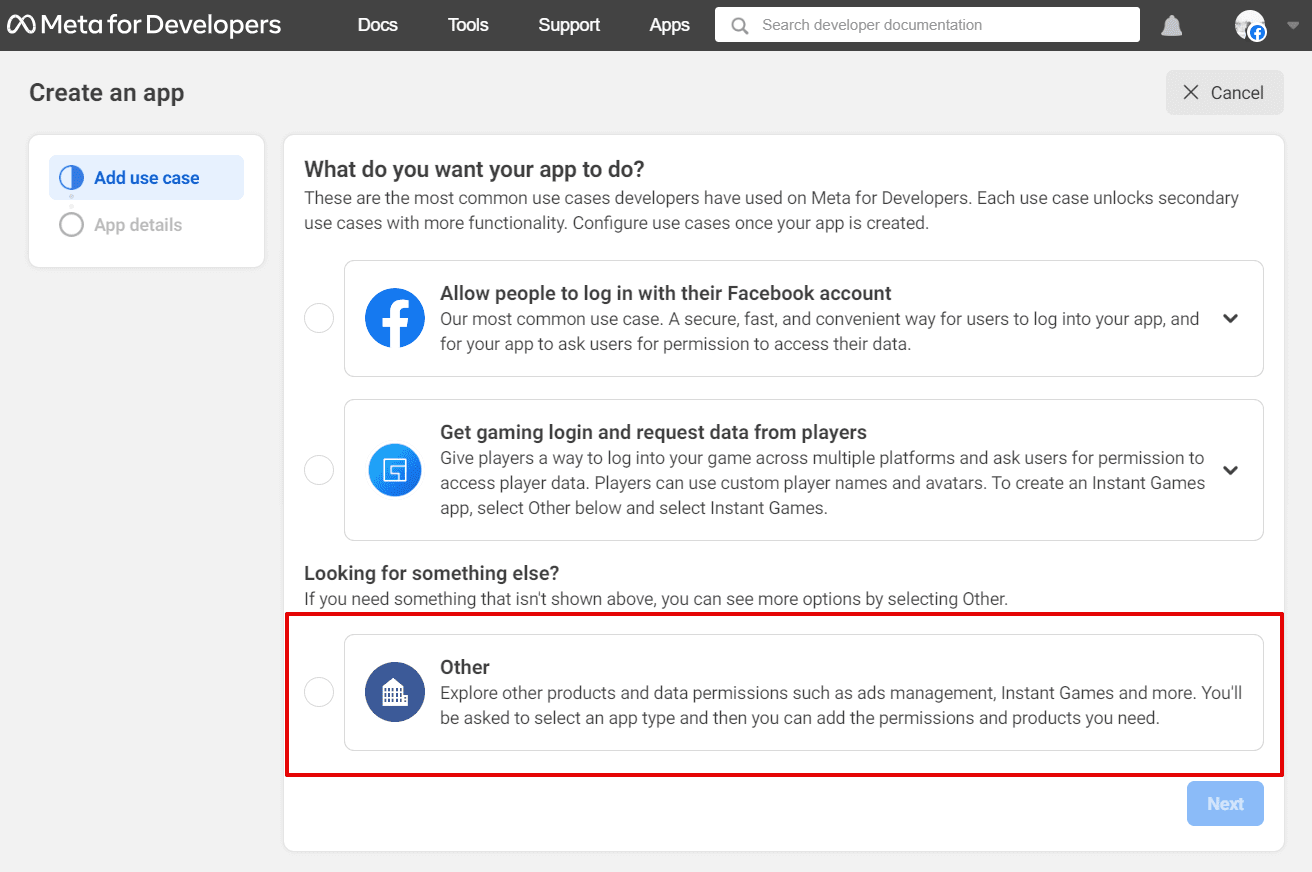
It will open a new window where you need to specify what should your app do. Select Other and then click on Next button.
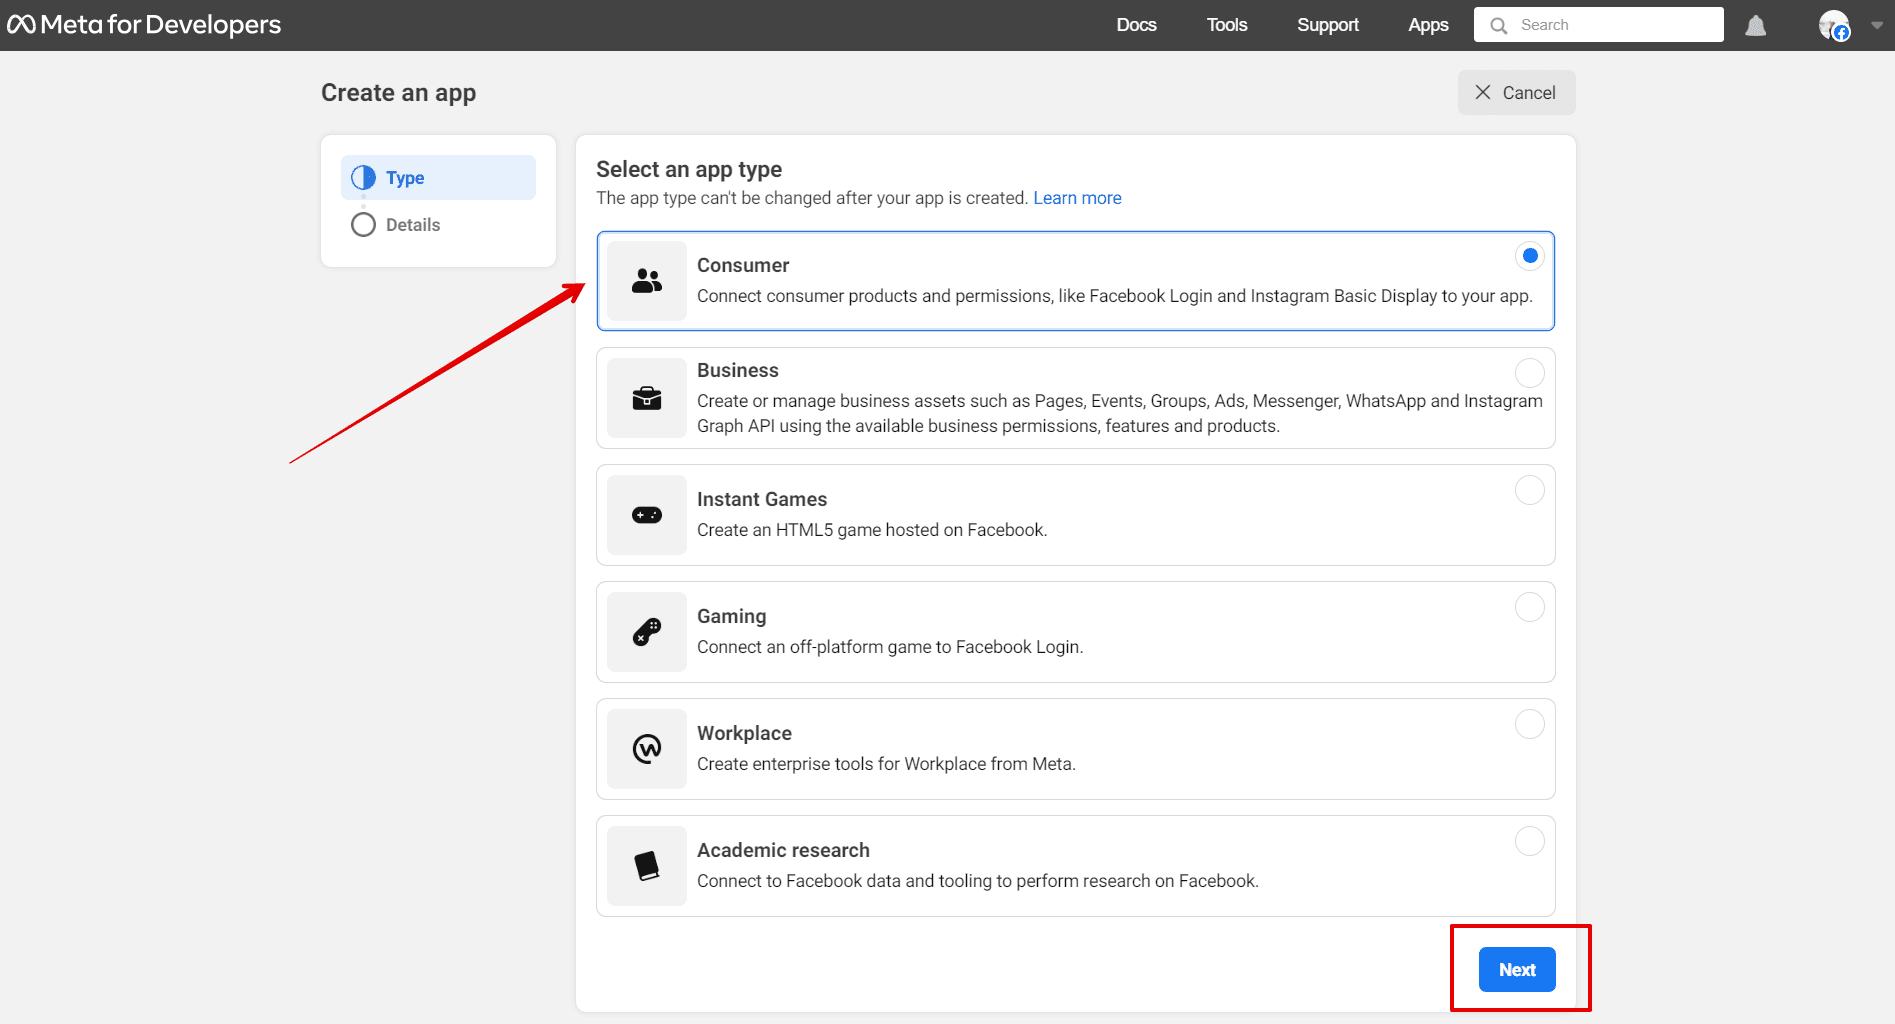
- In the Type tab select Consumer.
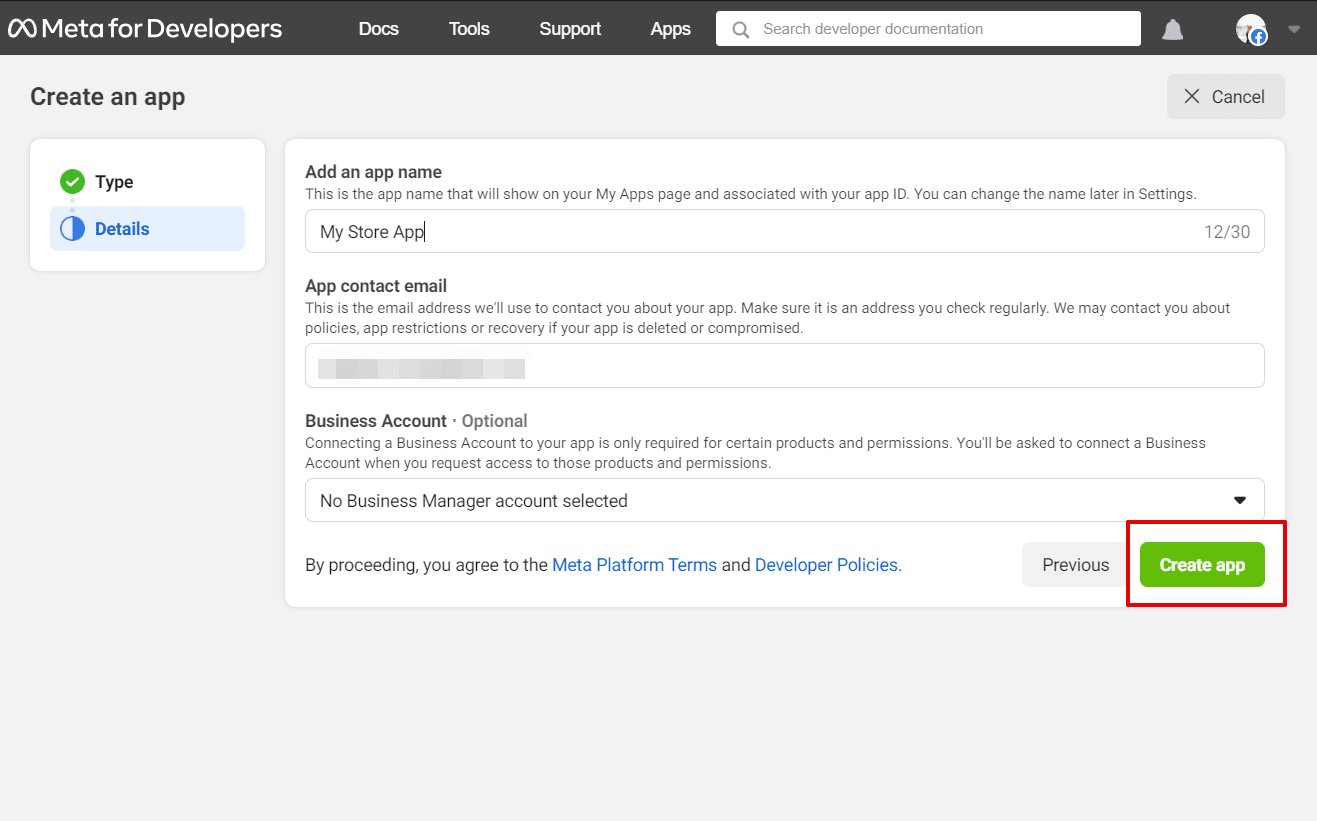
In the Detail tab fill in the fields Add an app name and App contact email. Then click on Create app.
- When the new app is successfully added, you will be redirected to a new page. Find App settings on the left panel and select Basic. Then click on + Add platform button at the end of the page.

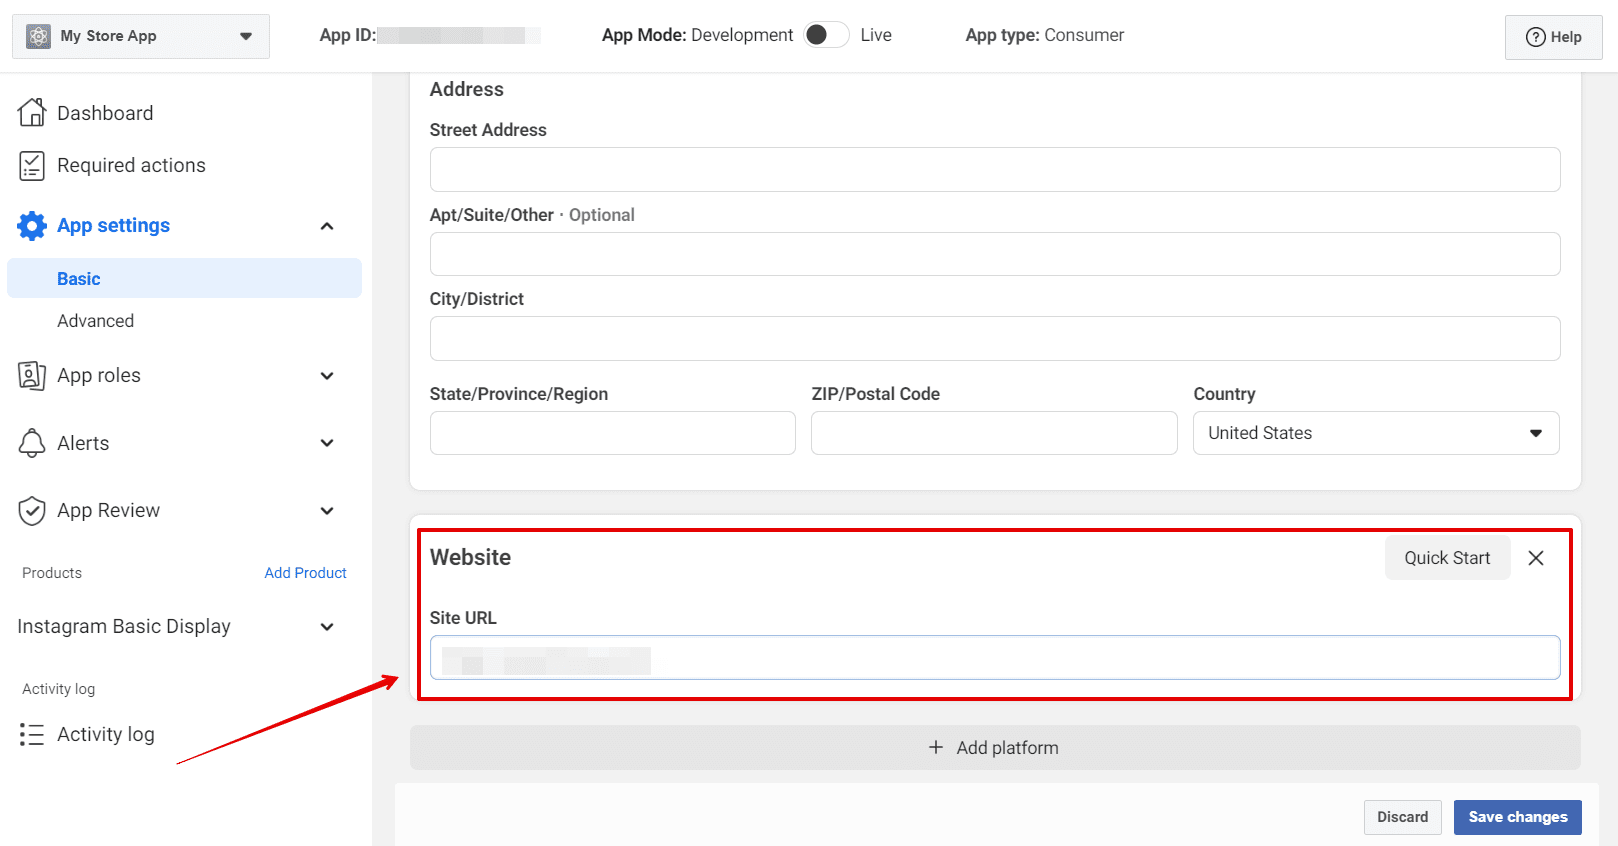
- Check Website Platform and click on Next button.

- Fill the field Site URL (it must be your real store URL) and click on Save Changes button.
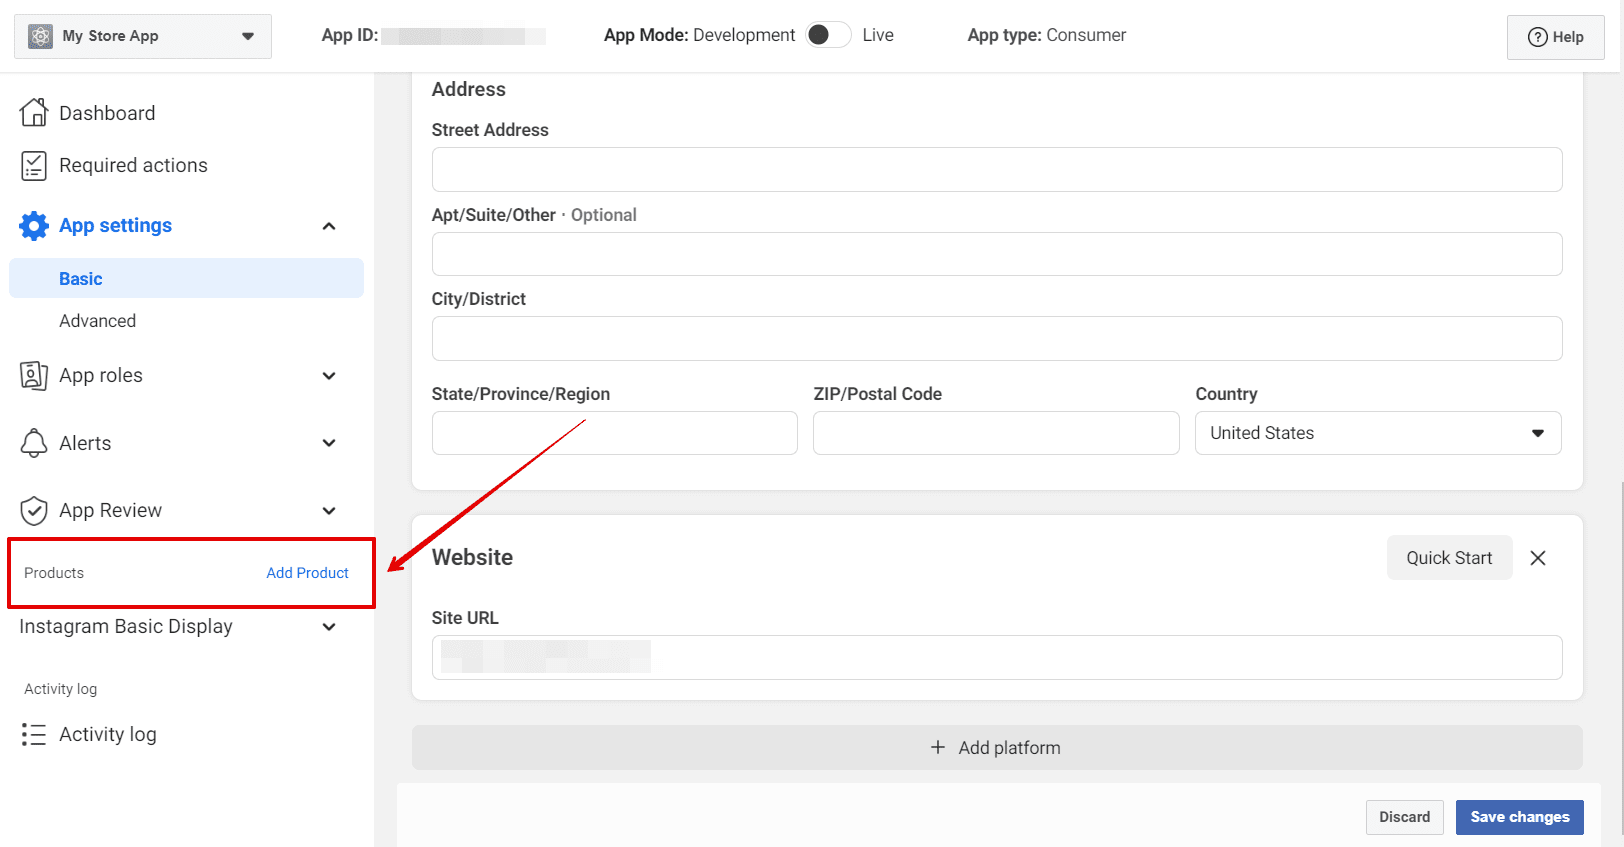
- Find Products on the left panel and click Add Product.
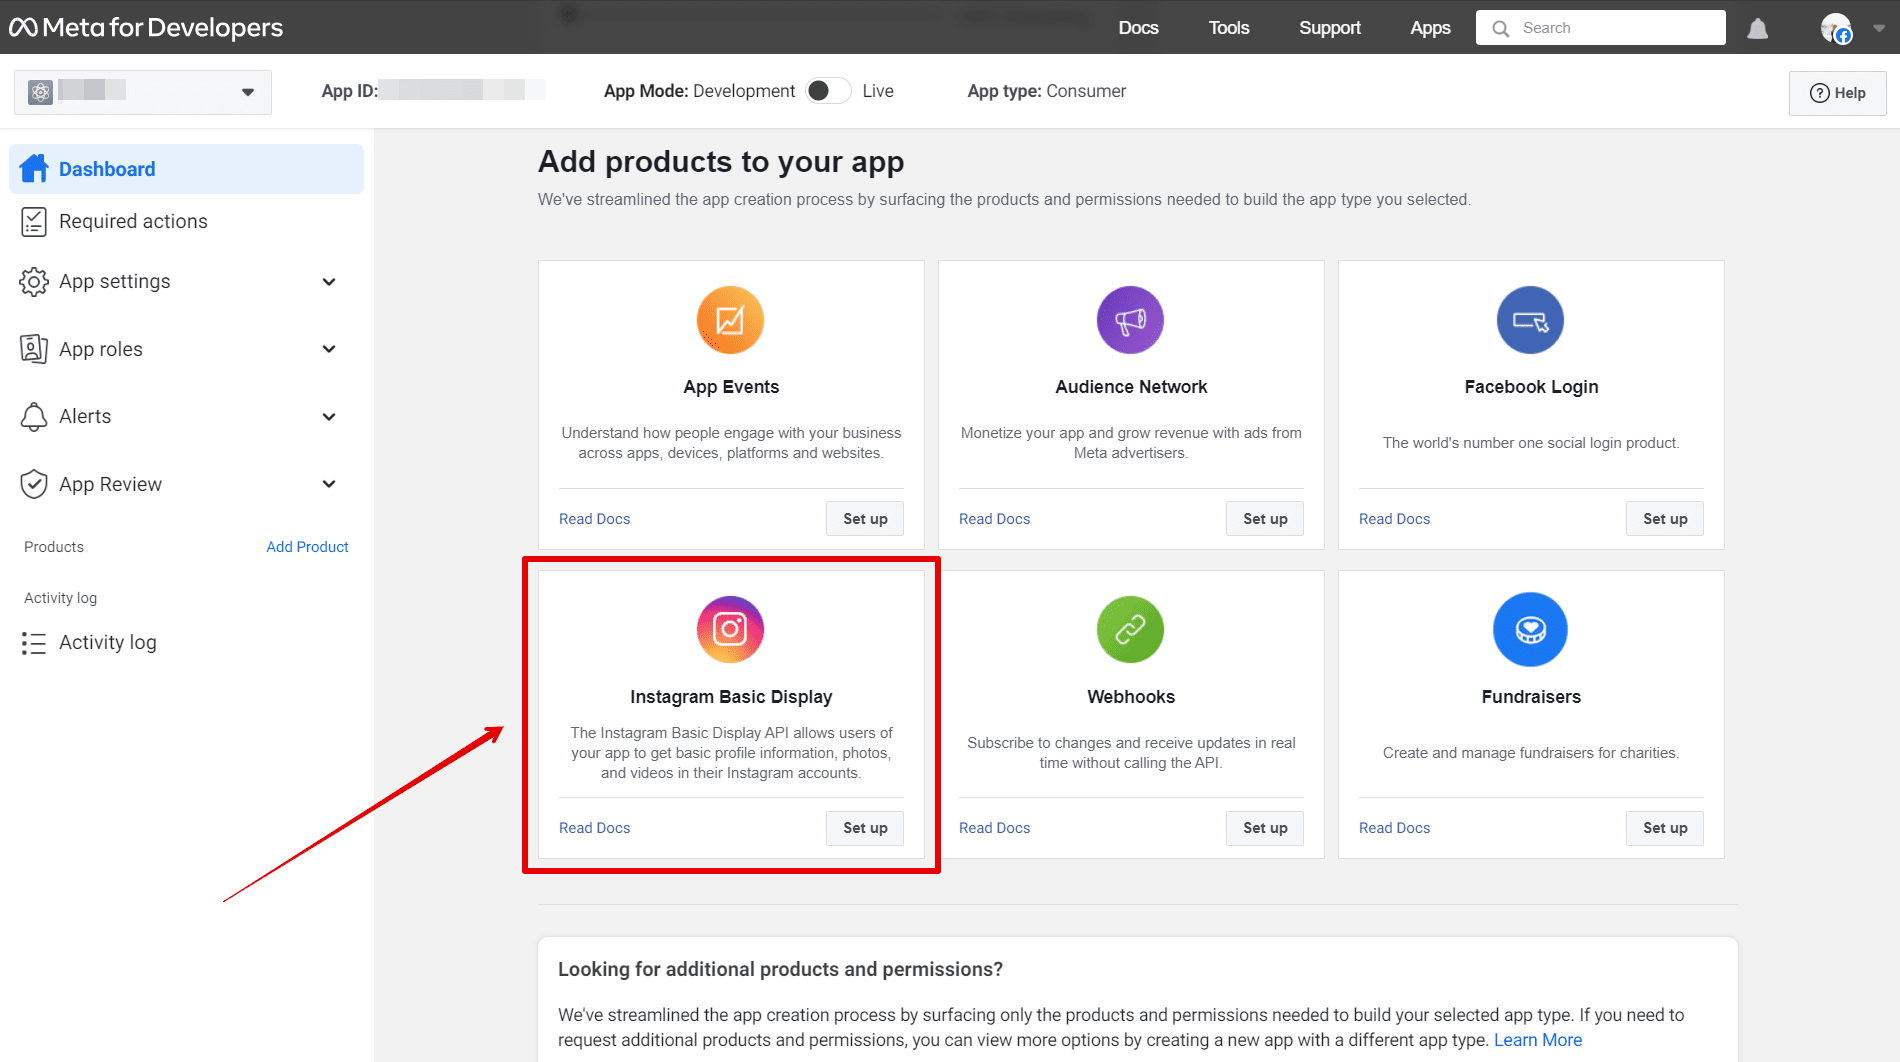
- Choose Instagram Basic Display and click Set up button.
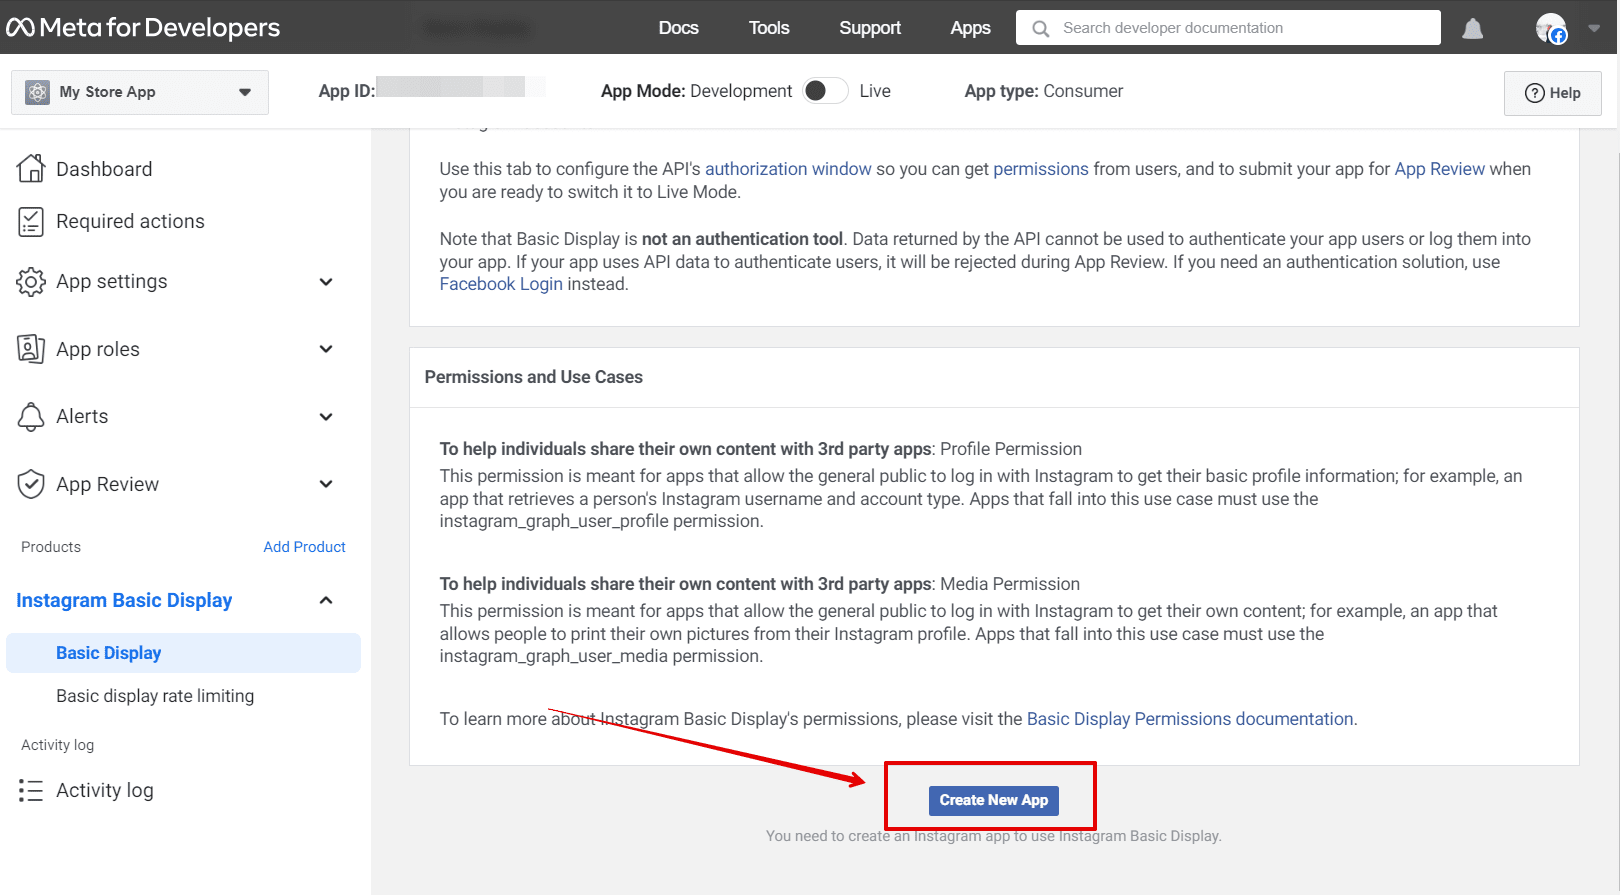
- Scroll to the very bottom of the page and click on Create New App.
- Fill in the field Display Name (it can be any name without using Instagram branding). Then click on Create App button.

- In the next window put your real store URL in these three input fields. And click on Save Changes button.
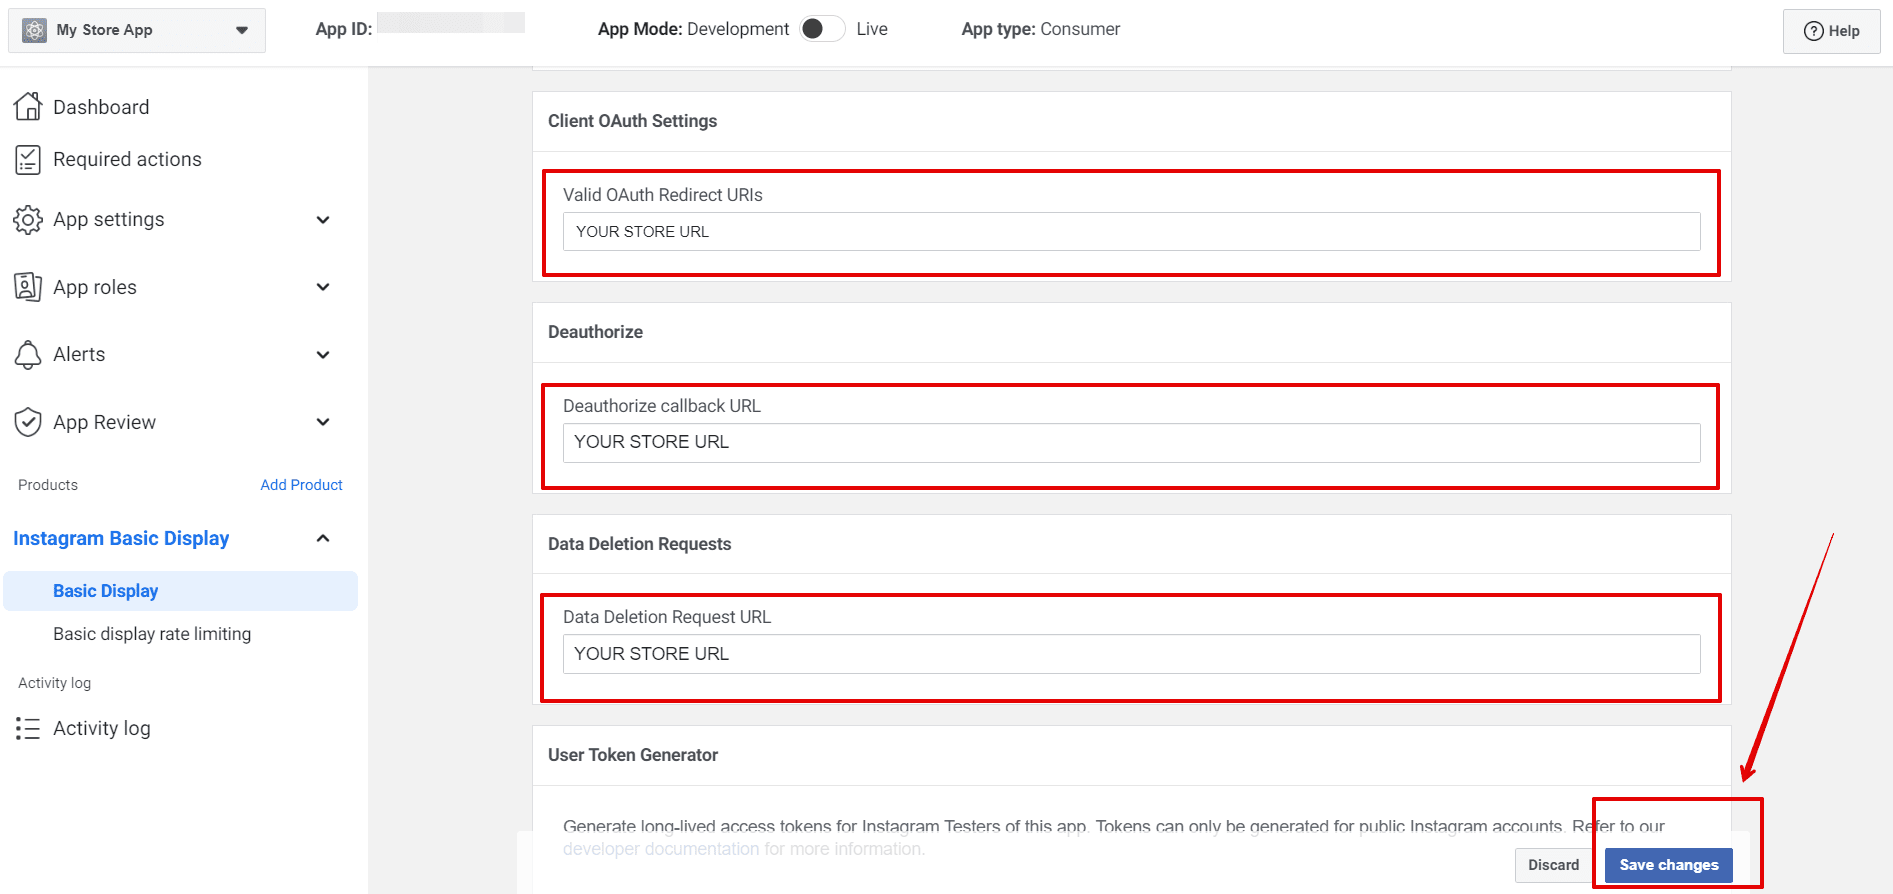
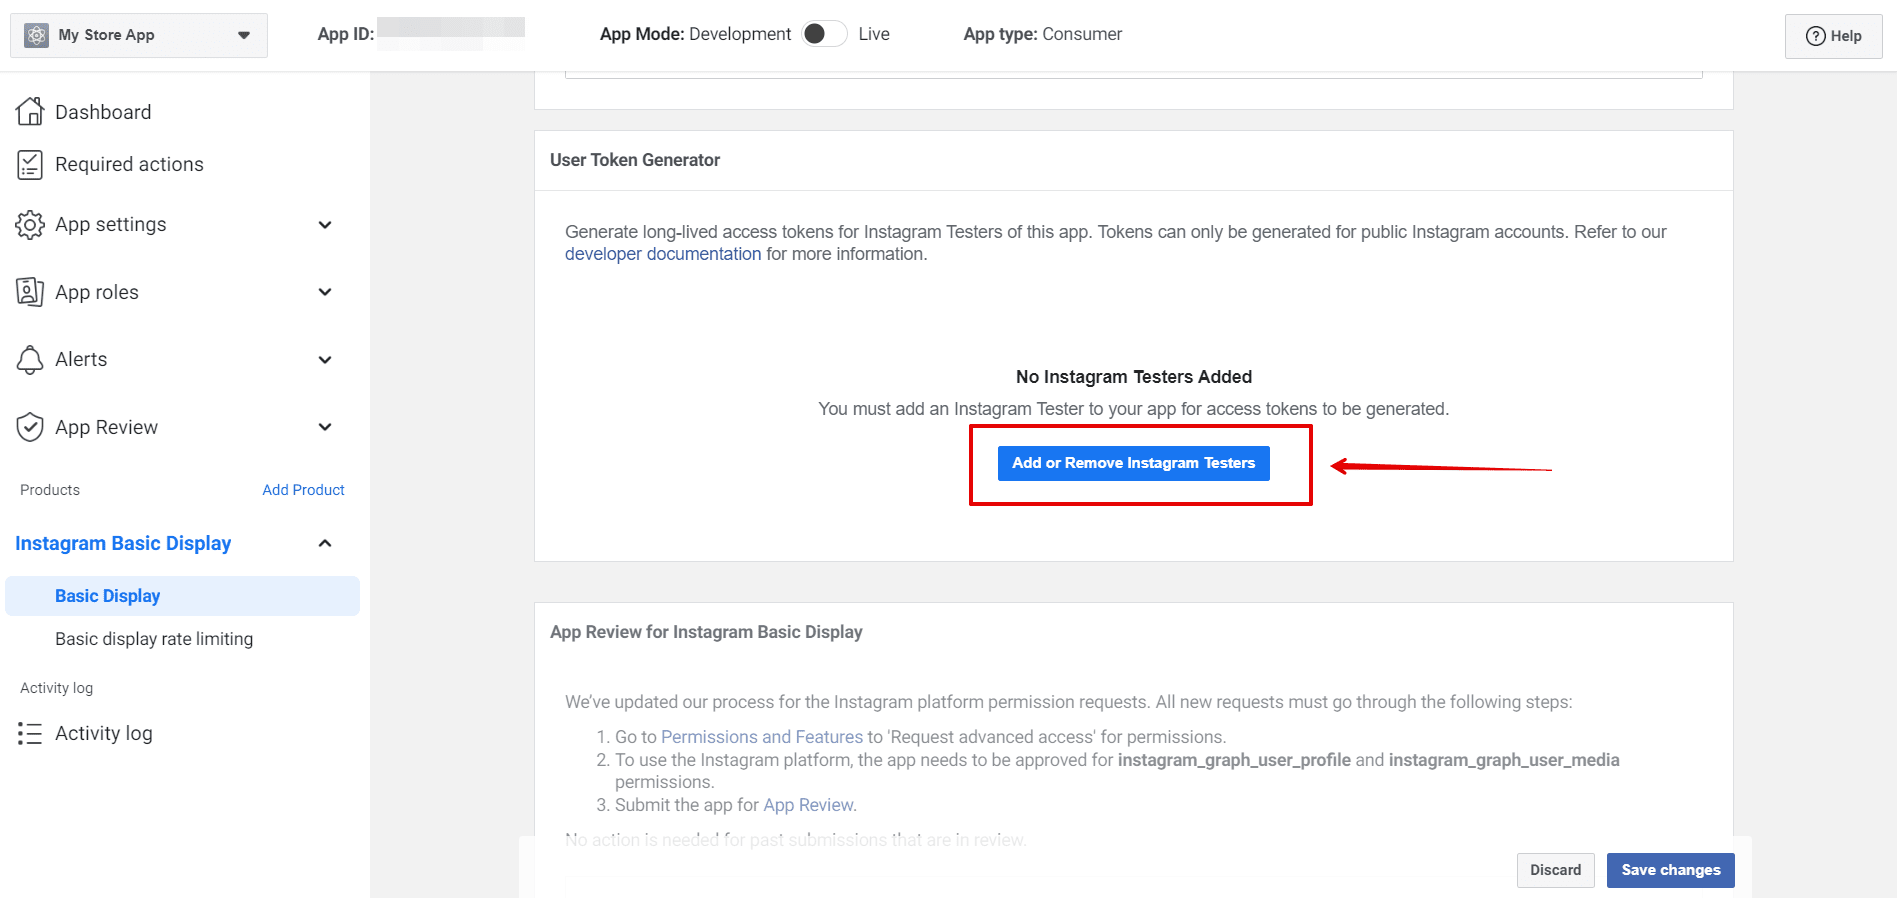
- Scroll down and find section User Token Generator. Click on Add or Remove Instagram Testers.
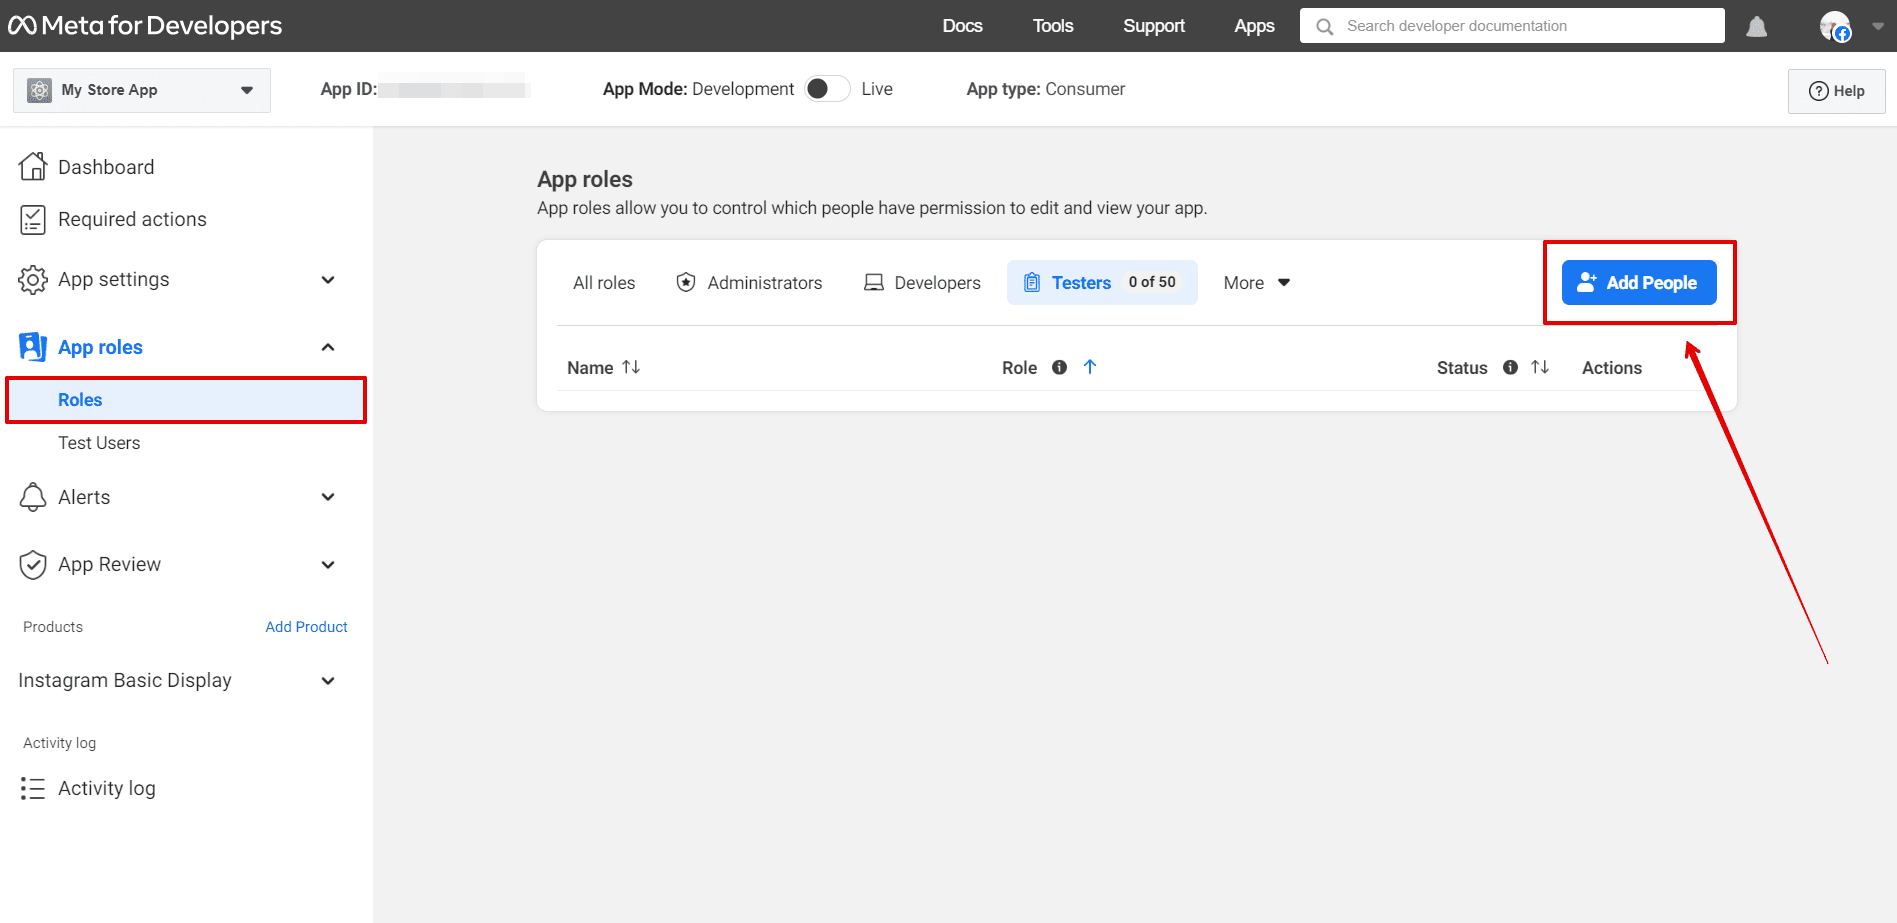
- Find App roles on the left panel and click Add People.
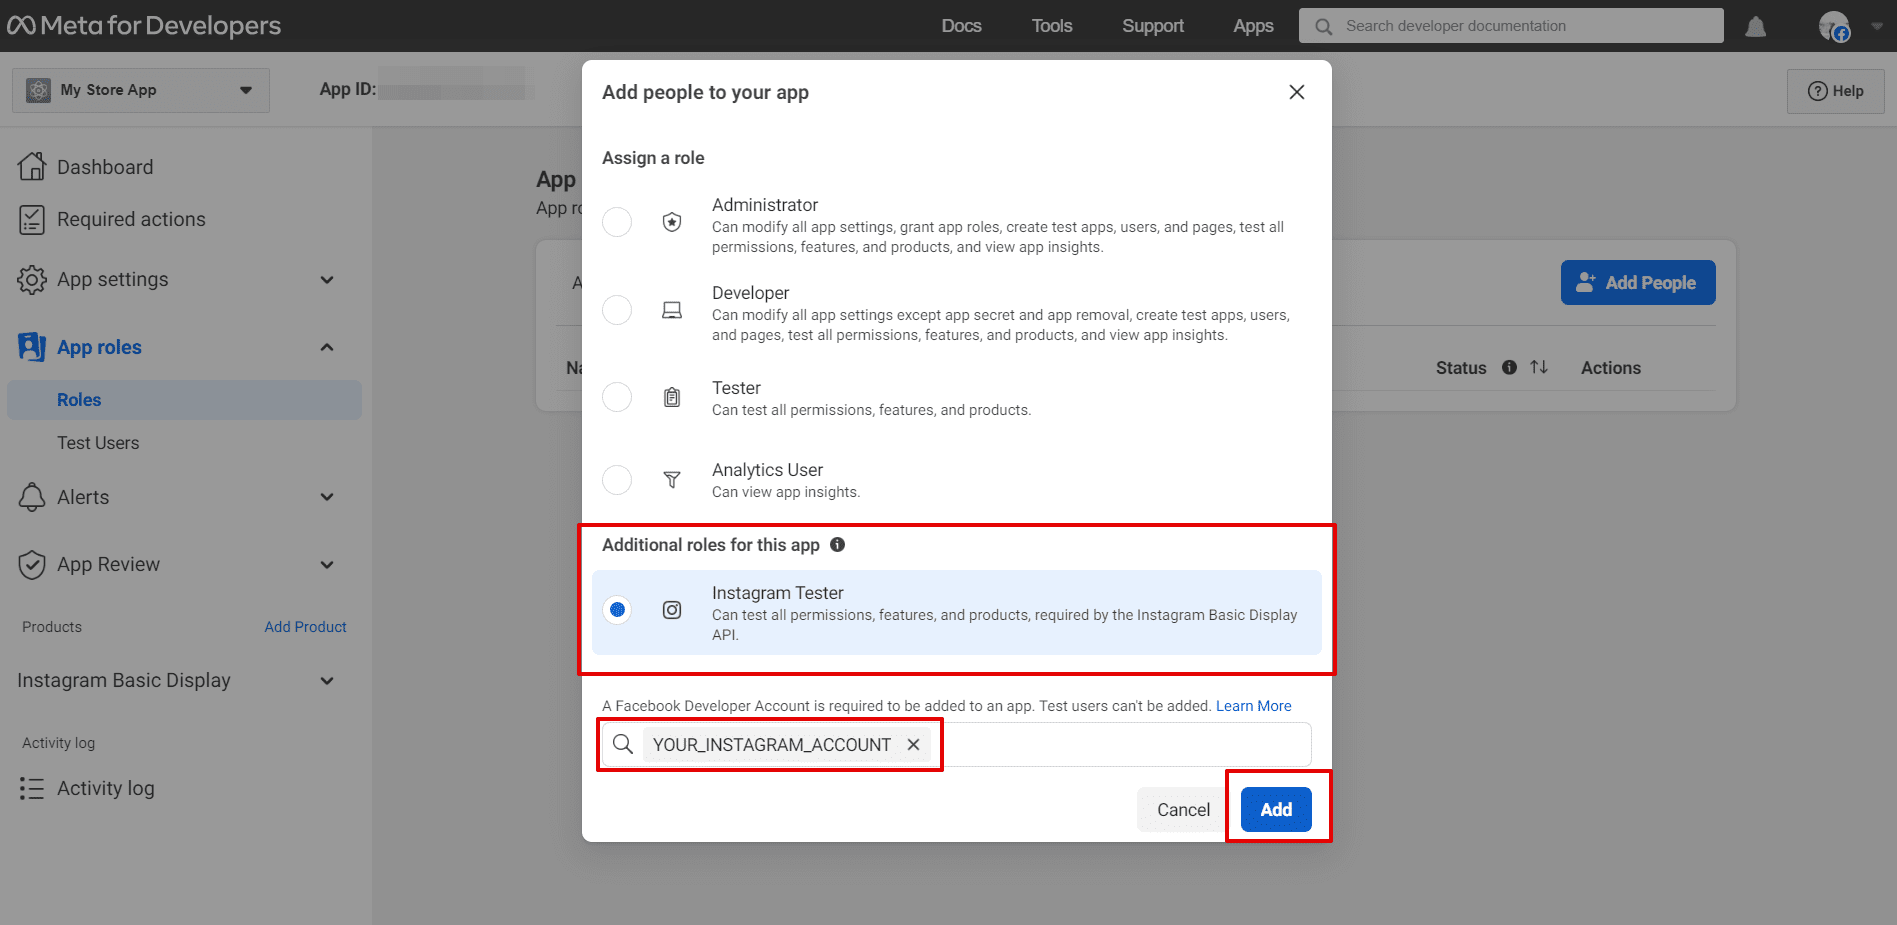
- Select Instagram Tester. Fill in the field your instagram account username and click on Add.
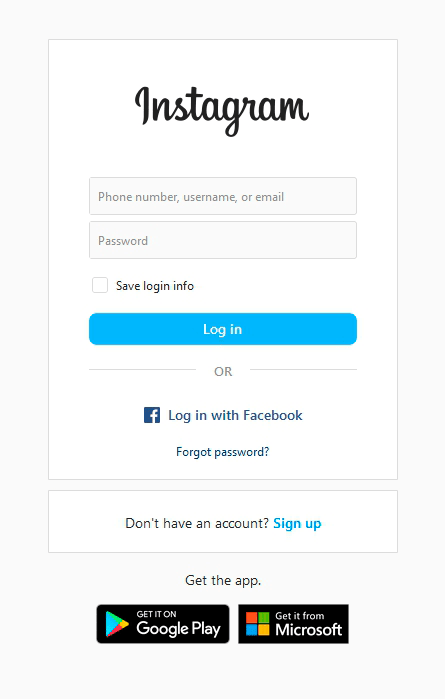
- Next, you need to go to your Instagram account to accept Tester Invitations. If you are logged out from your Instagram profile, please log in here instagram.com↗ (opens in a new tab).
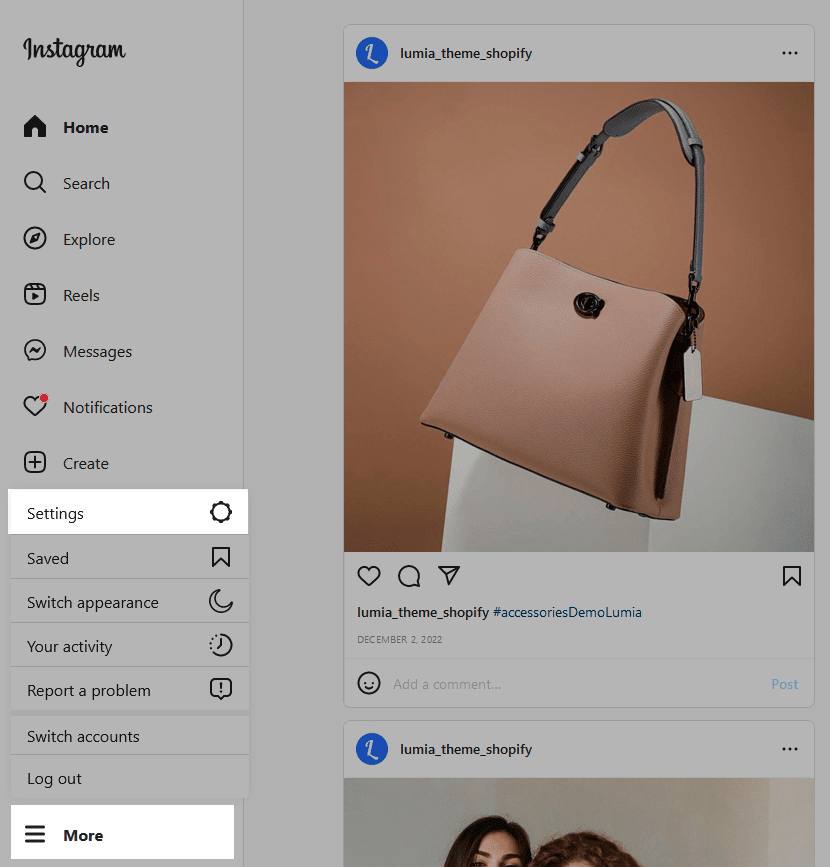
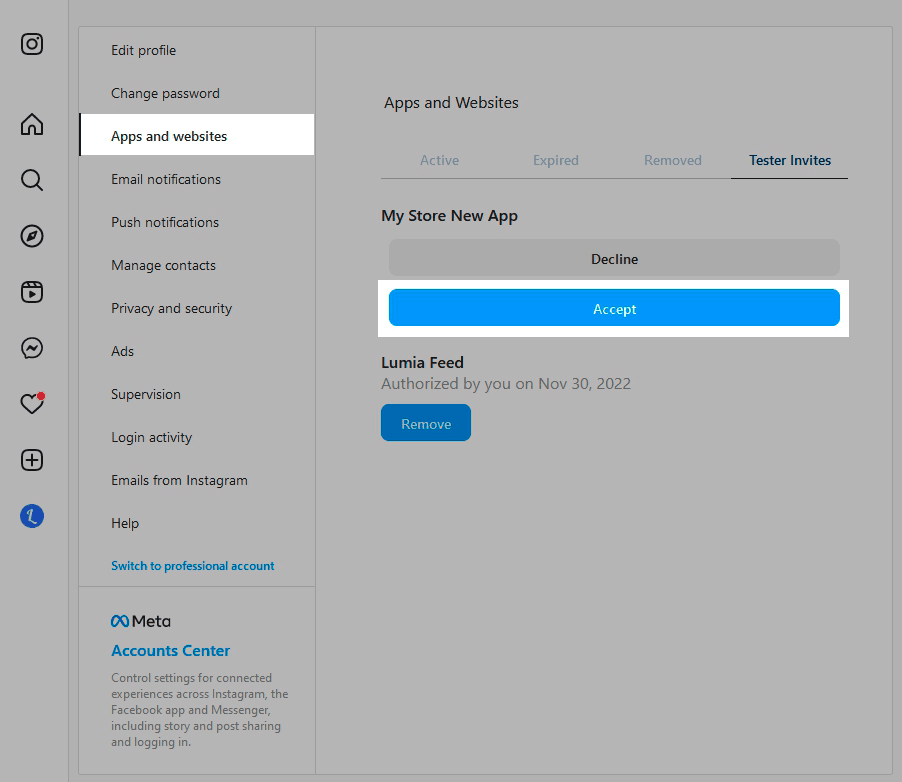
- Go to Settings > Apps and Websites, and click on the Tester Invites tab. Then, click on the Accept button to continue.
-
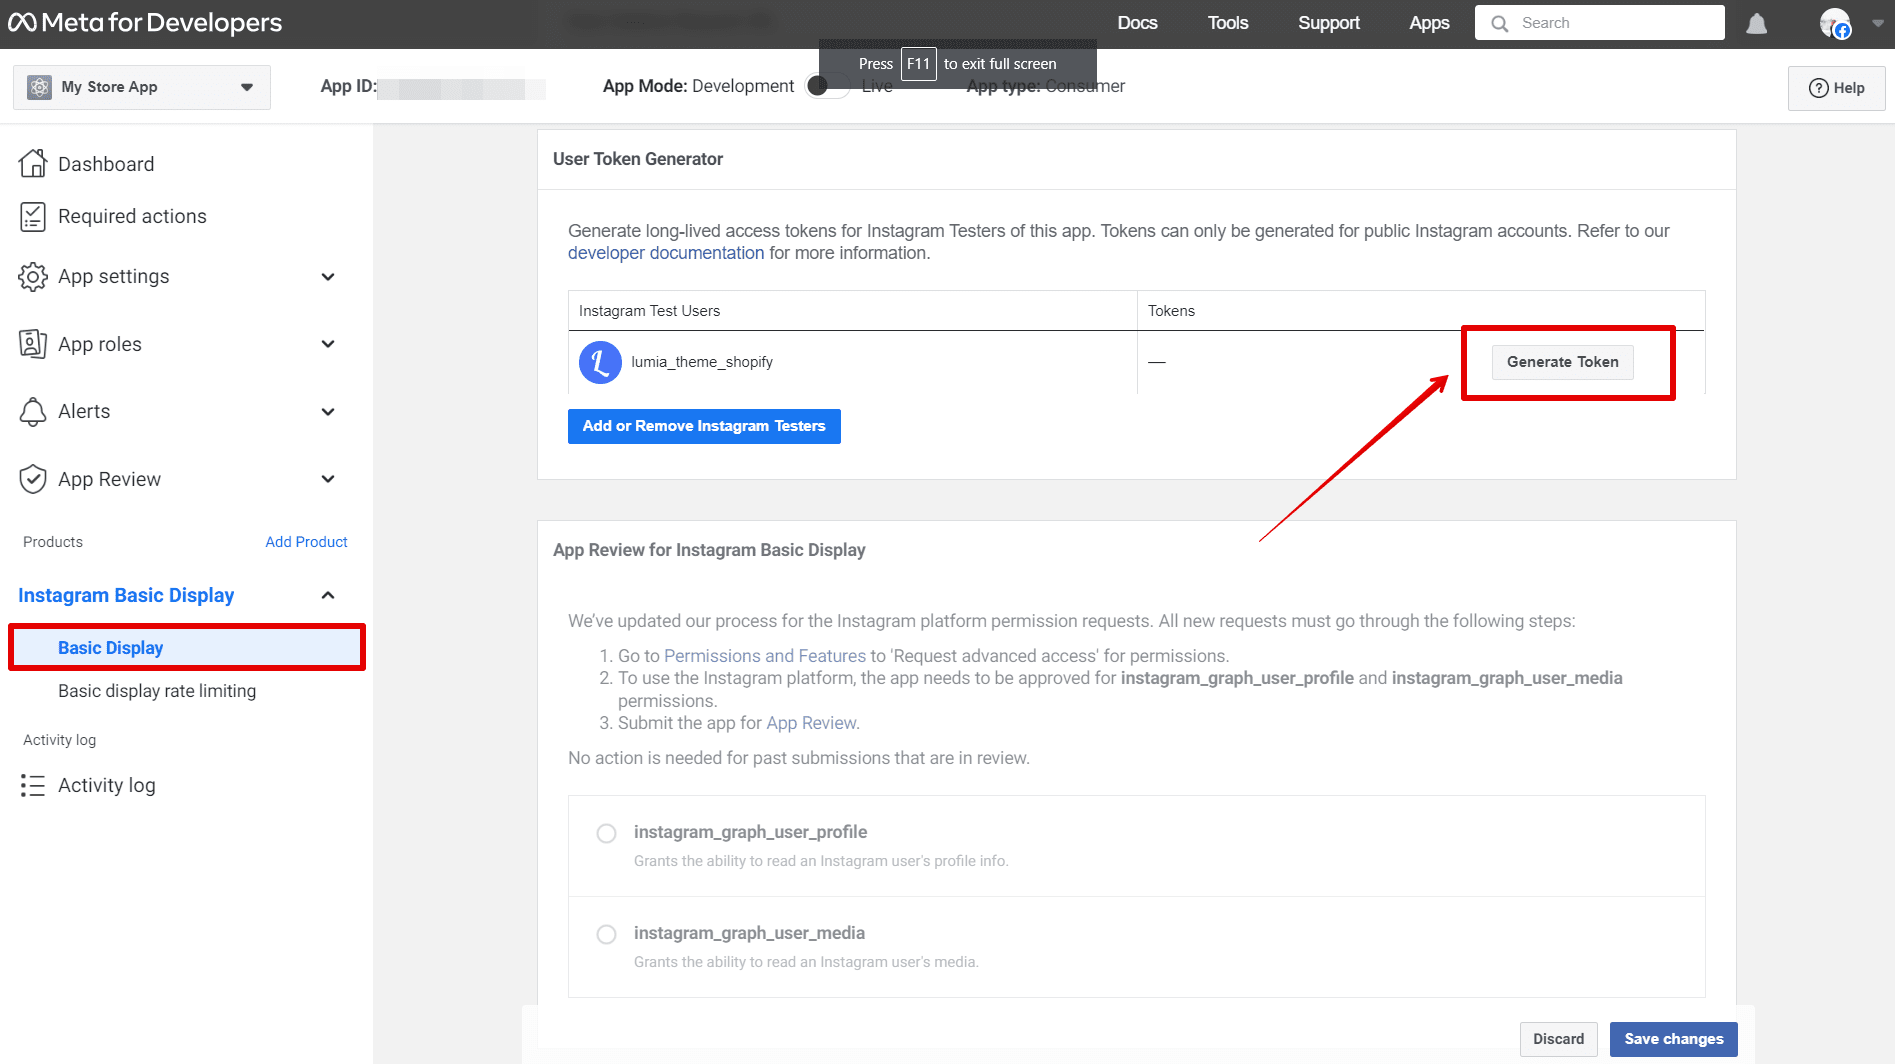
Go back to the Facebook developers website.
On the left panel click Instagram Basic Display > Basic Display. -
Scroll down and find section User Token Generator. Click on Generate Token button to get Instagram access token.
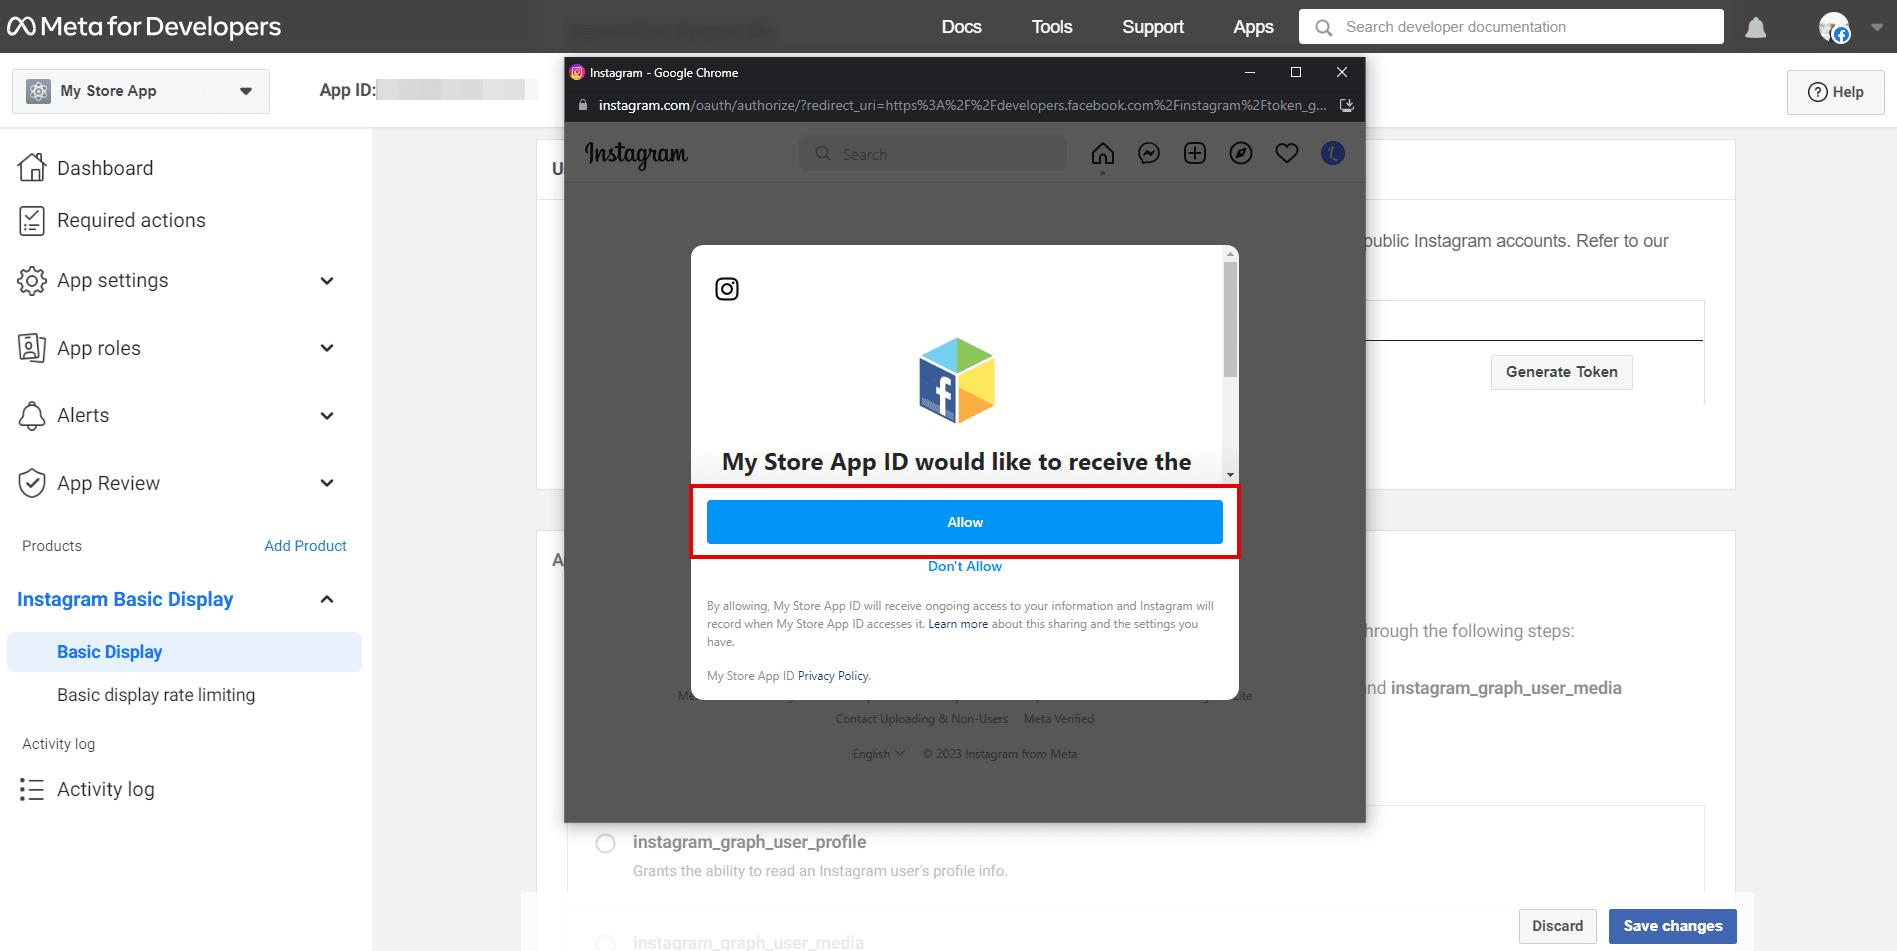
- It will open your Instagram account again where you need to click on Allow button.
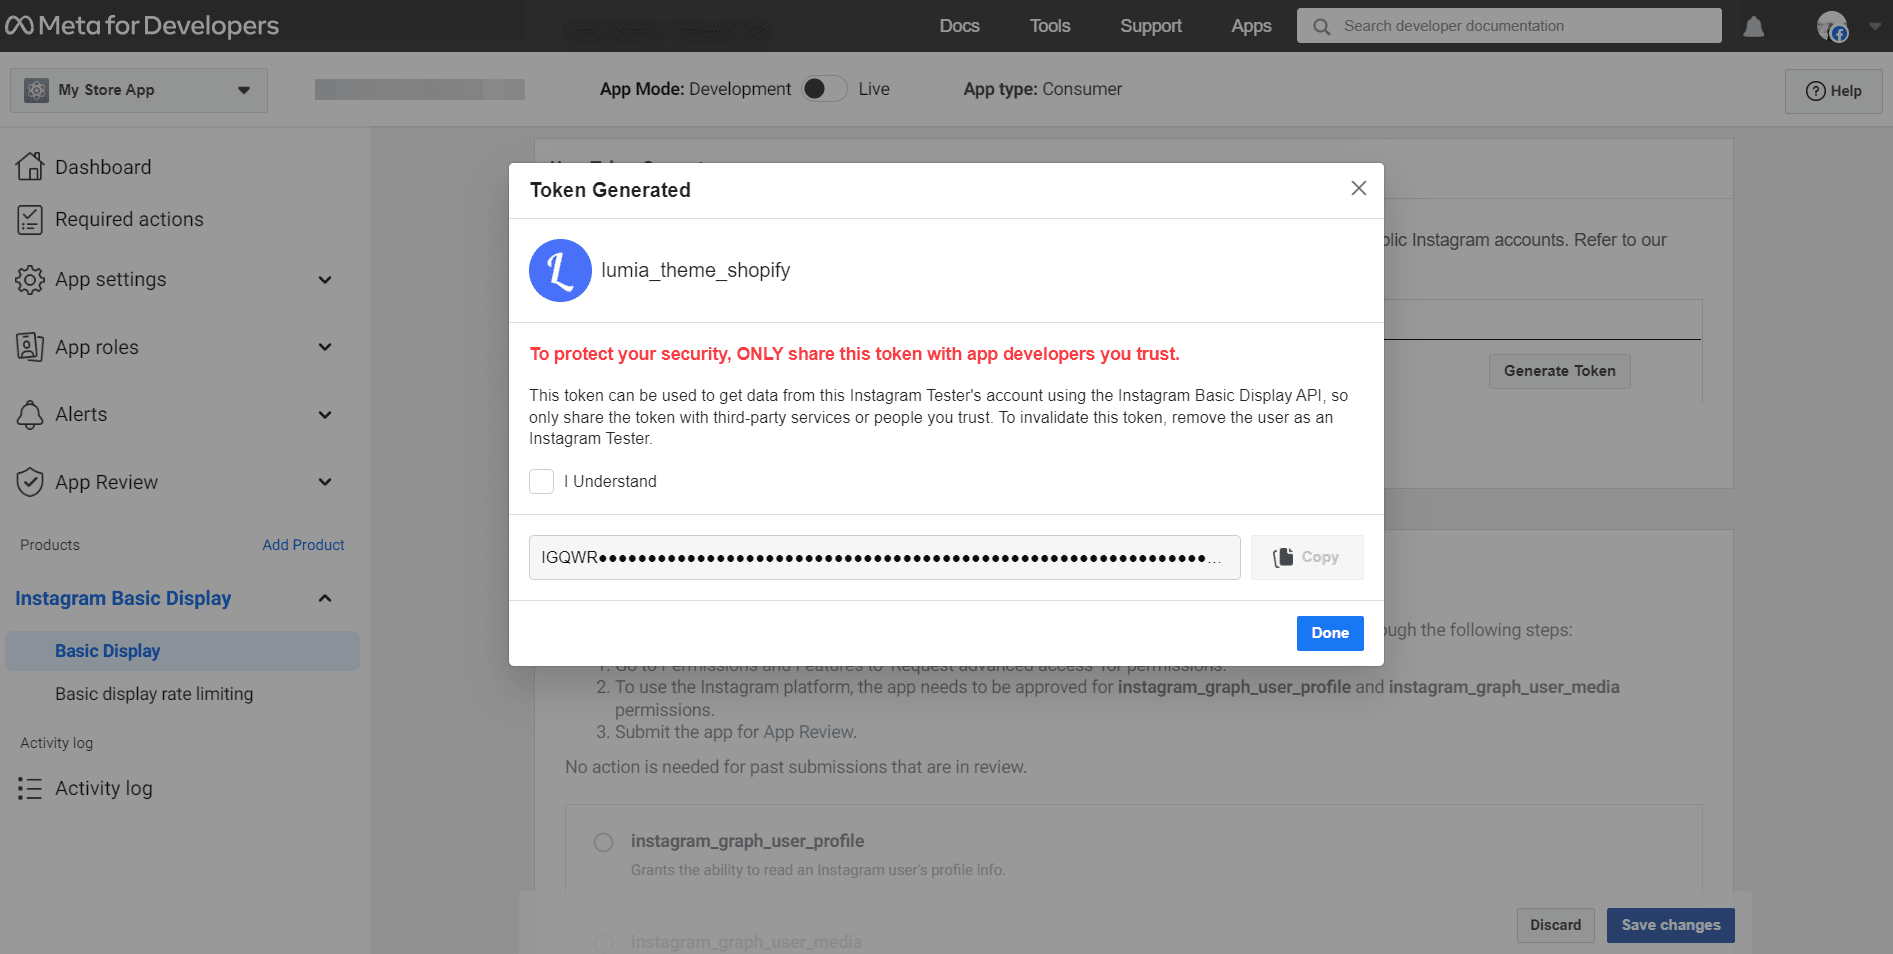
- Finally you get the the Access Token! Copy it from the popup window and
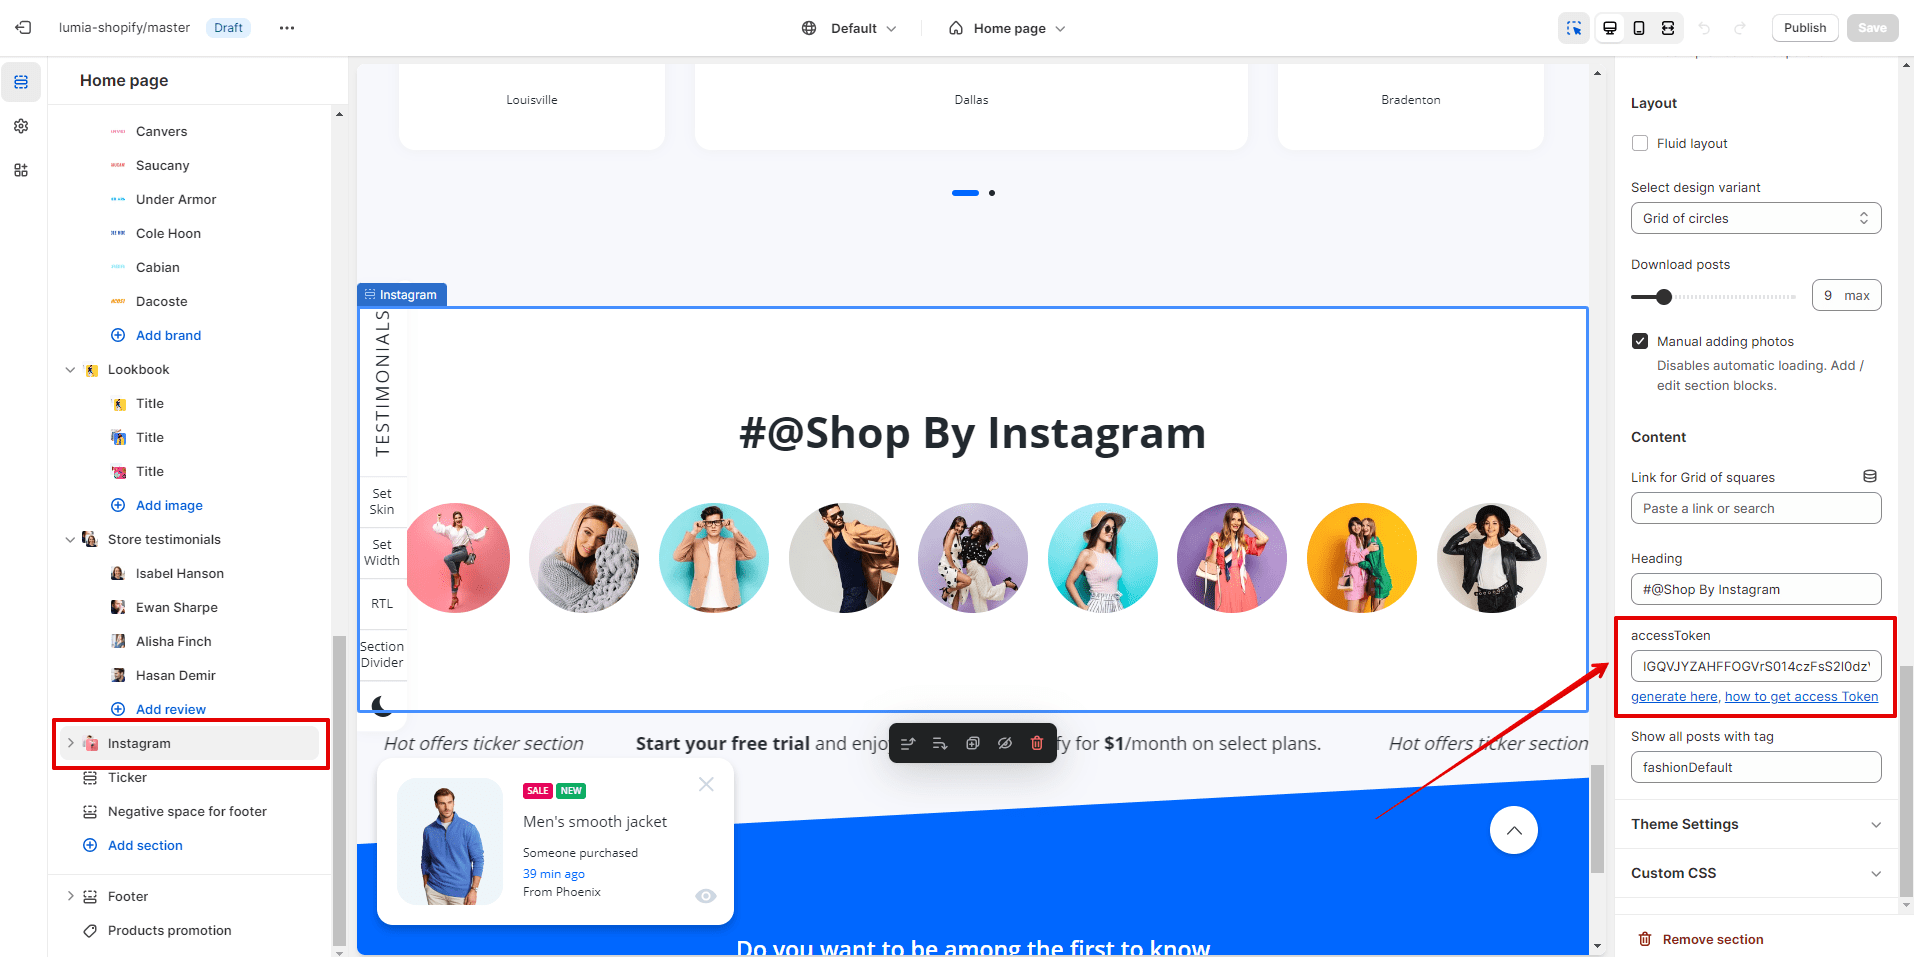
- Open your theme in the Shopify admin. Select the Instagram section and paste the Access Token in the accessToken field.
This Token is valid for 60 days from the date it was created. When your token expires, repeat steps 18-20 again and update the Token in your store admin.