Skins
Skin colorization
The theme allows you to colorize any element of the store, both by manually setting your own colors and by using special ready-made theme presets. You can config the same skins like our demo manually or automatically using Theme Styles.Theme Styles.
Manual colorization
A full course on how to paint a store in your corporate colors can be found here.in Colorization.
Automatic colorization with theme styles
The theme supports automatic recoloring and applying typography to your customized store in the style of our pre-installed skins:
- Skin BagsSkin Bags
- Skin CarpartsSkin Carparts
- Skin ElectronicsSkin Electronics
- Skin Fashion 1, 2 (default)Skin Fashion 1, 2 (default)
- Skin Fashion 3 (soft)Skin Fashion 3 (soft)
- Skin Fashion 4 (strict)Skin Fashion 4 (strict)
- Skin Nutrition (dark)Skin Nutrition (dark)
- Skin PetsSkin Pets
- Skin ShoesSkin Shoes
- Skin ToysSkin Toys
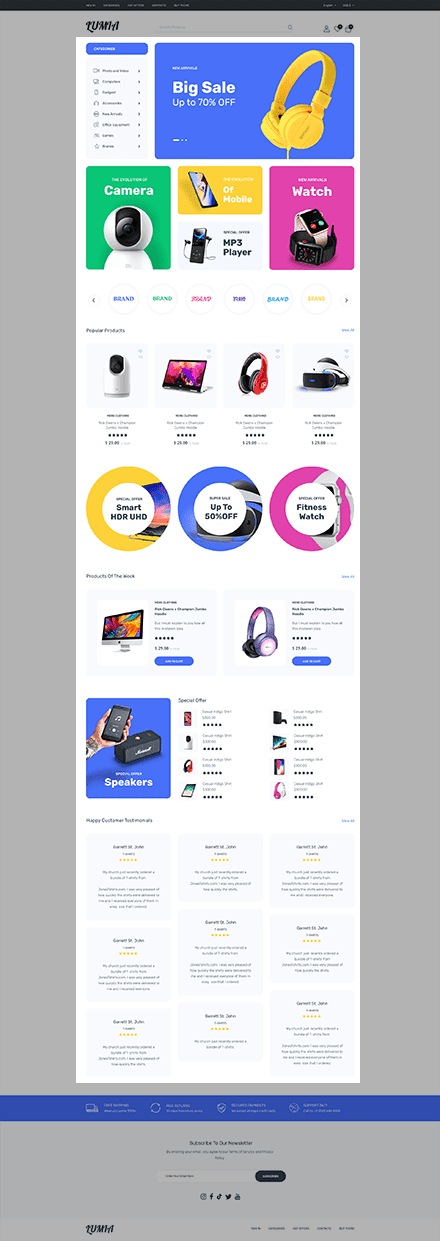
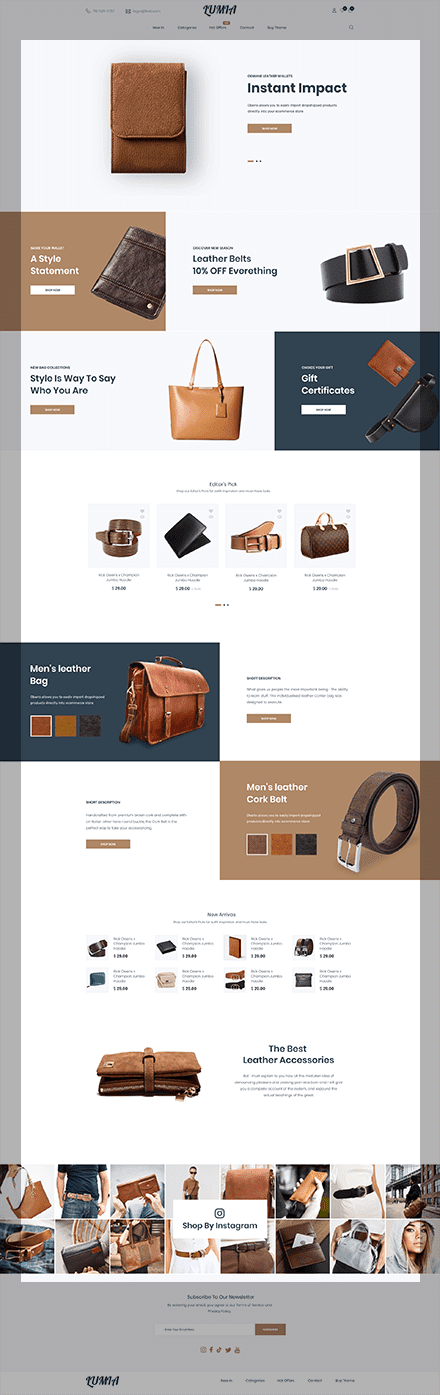
Skin homepage sections
Each skin in our demo has, in addition to its unique colorization style, its own set of widgets between the header and footer. And let's say you want to try the same set of sections with your store that you have already set up and colored. Our theme allows you to do this.
|
|
|

Steps to import preset skin homepage sections
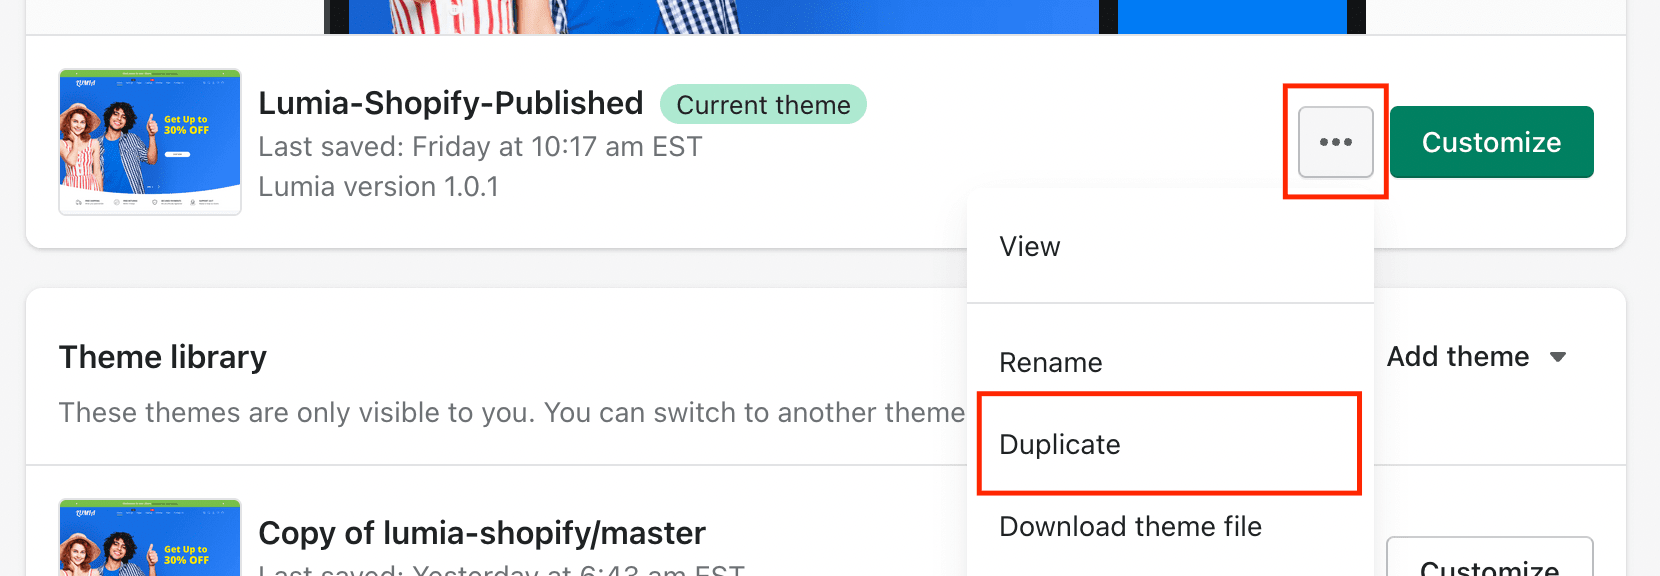
Create theme copy
We recommend making changes to the copy because of firstly for preview and secondly for safety that nothing will break.
- Login to Your shopify store. Go to Online Stores > Themes
- Click the three dots next to the theme you want and after Duplicate.
Open theme files editor
- Click the three dots next to the theme copy and after Edit code.
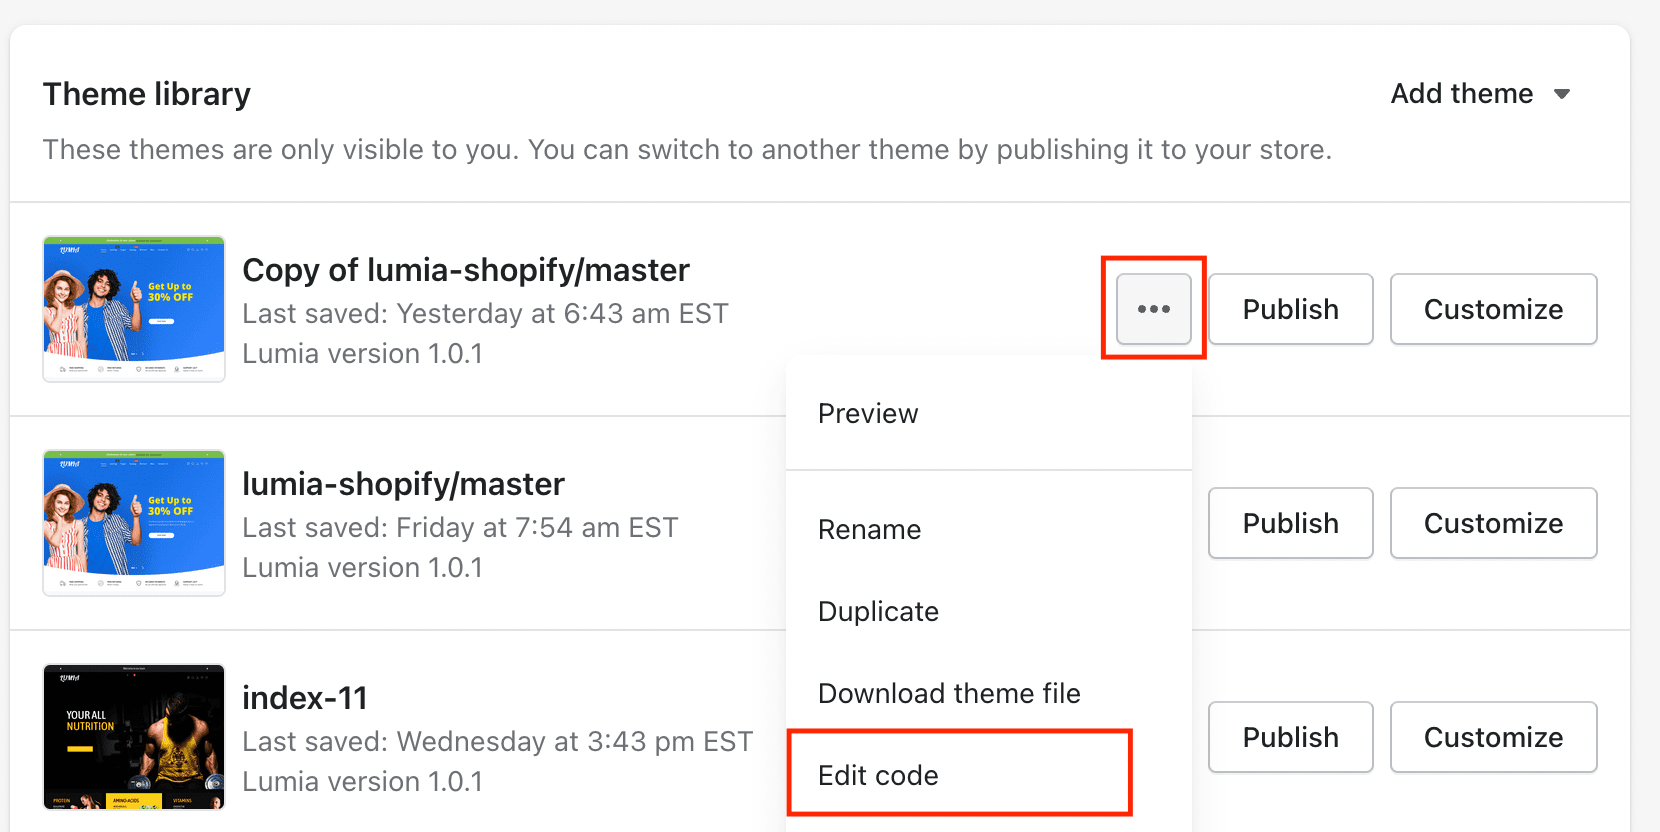
- Do not close open editor. Next step describes how to write skin sections schema in the file.
Write skin sections schema
Let's say the You want to import bags skinbags skin sections to your theme copy:
Go to theme package folder presets/bags/templates/
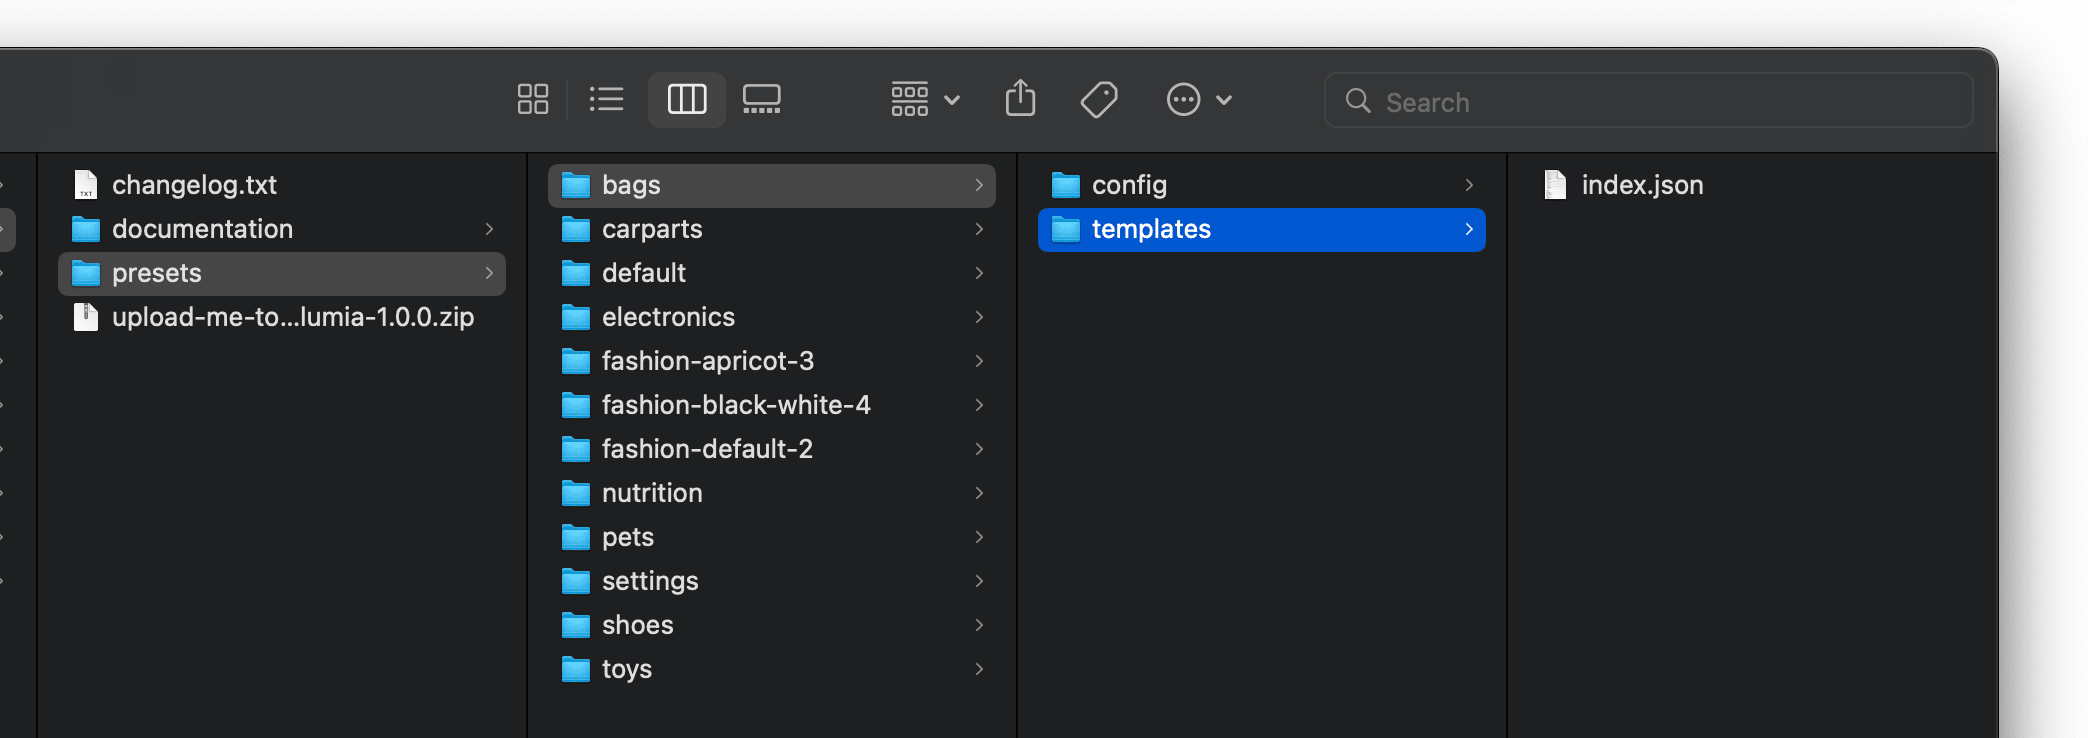
- Open the file index.json with simple text editor localy and copy file content.
- Go to the theme file editor that we opened in previous step. previous step.
- Search the file index.json and click it to open in editor.
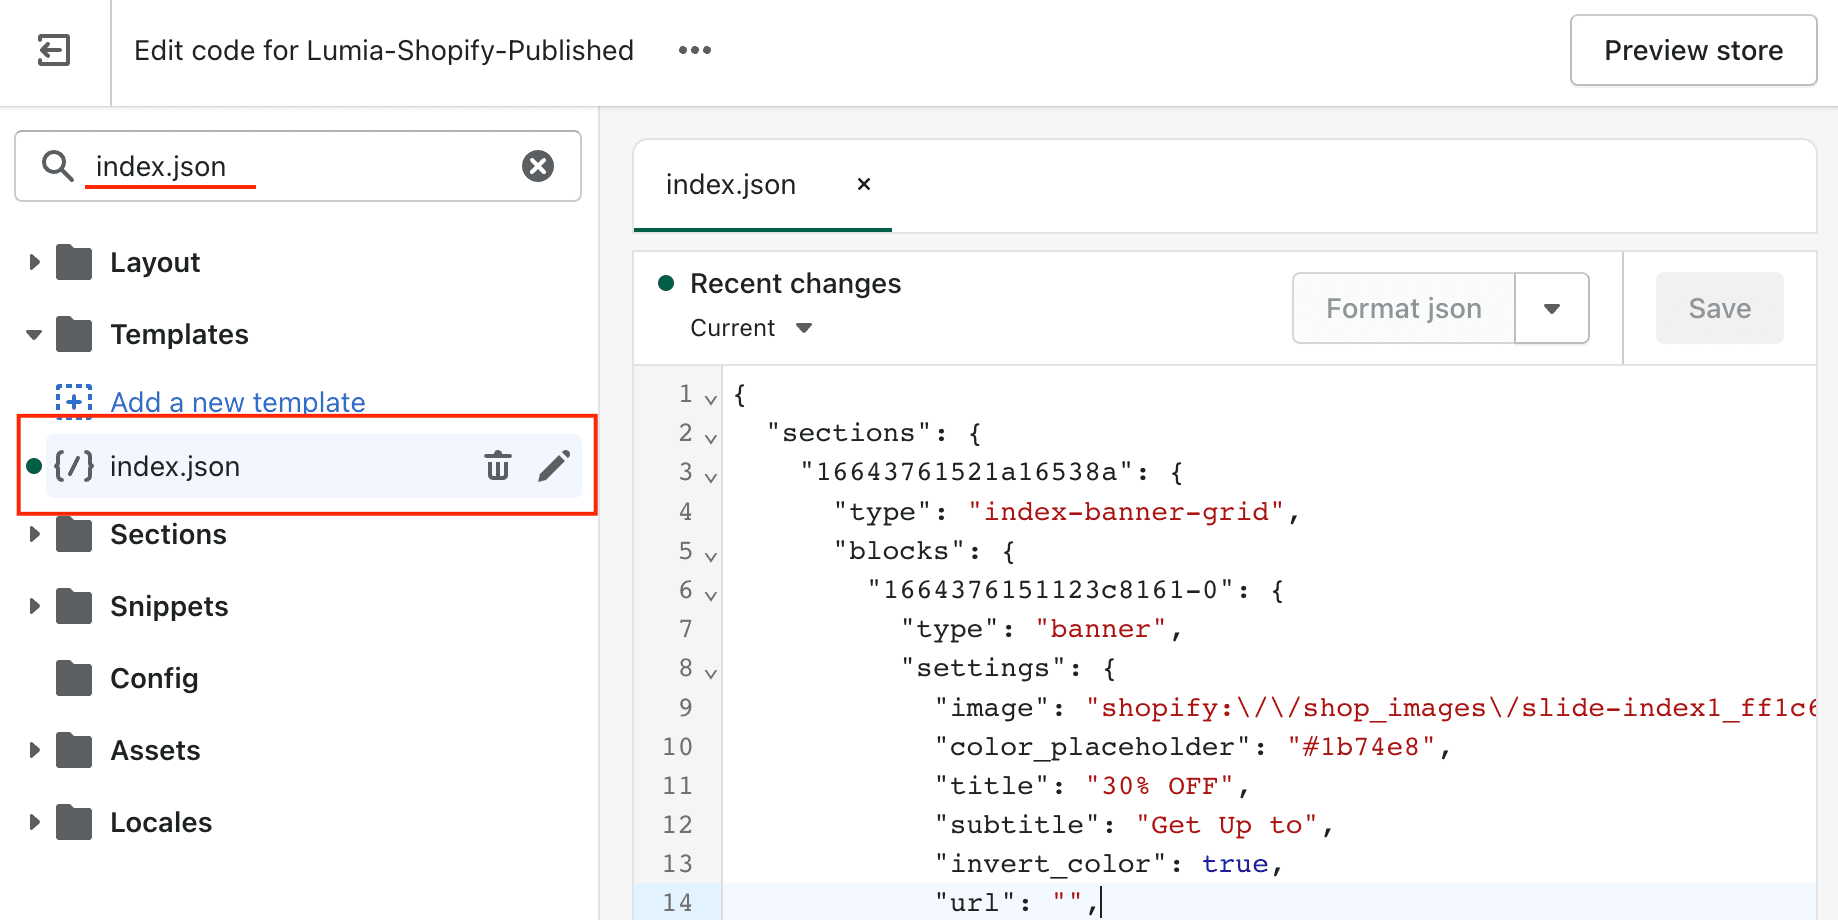
- Replace content from local index.json and click Save.

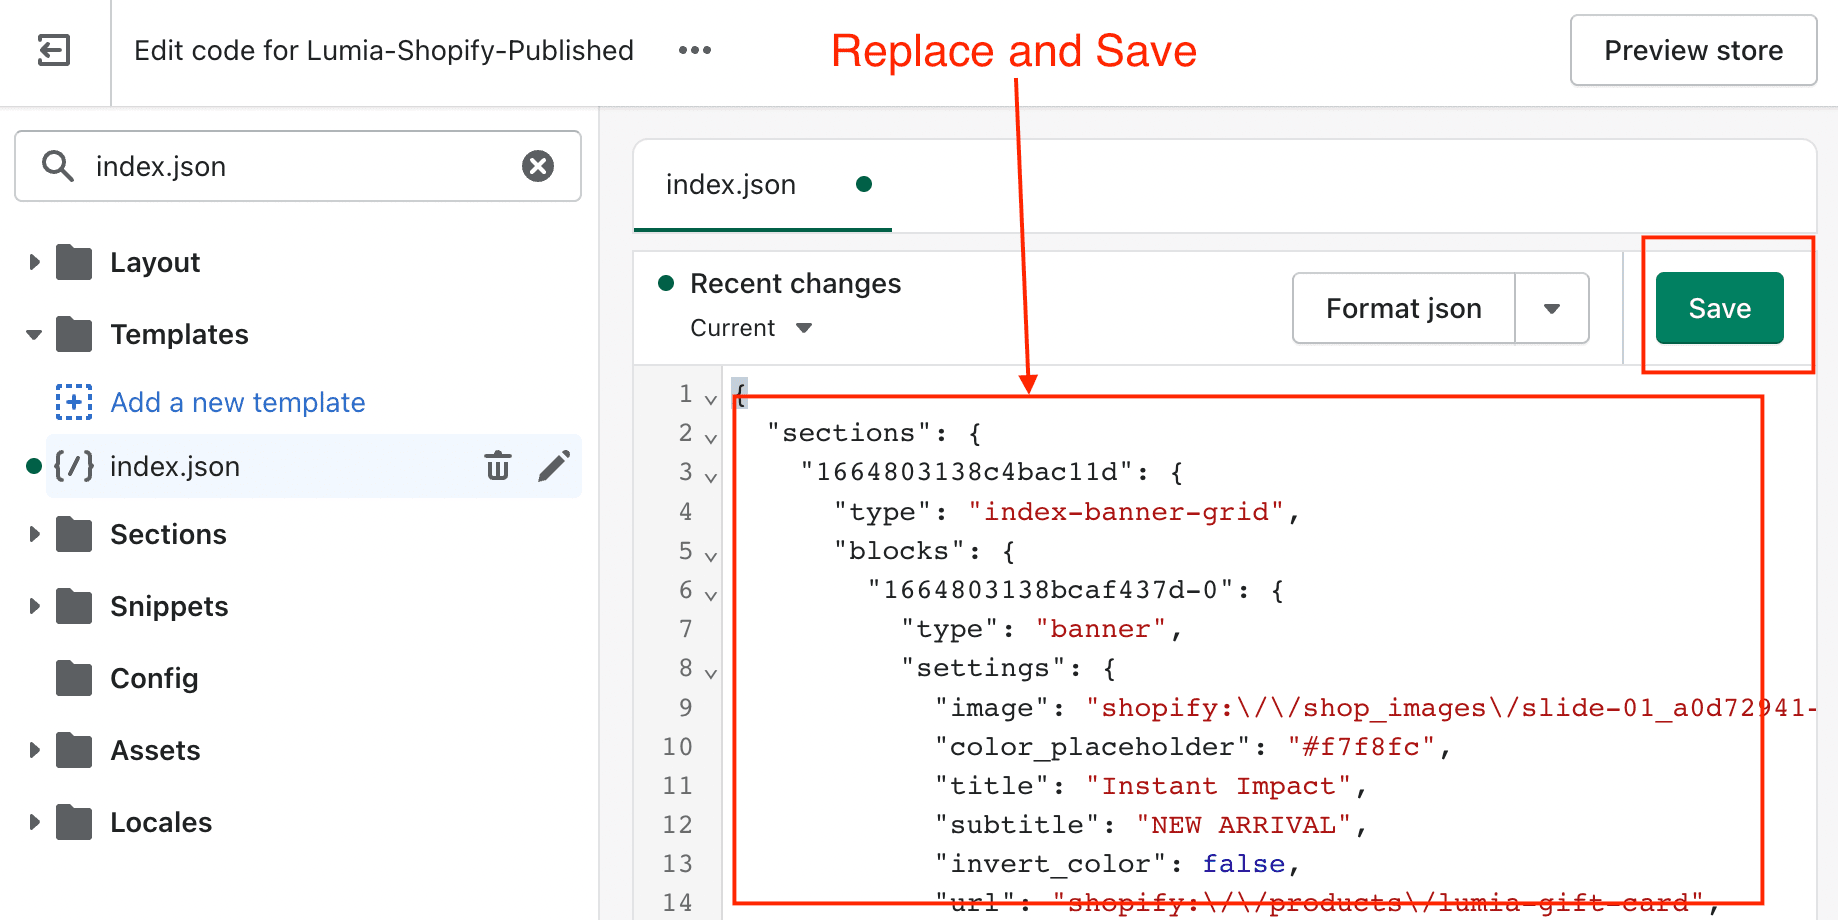
DONE! Thus, you can import sections on home page from any skin like in our demo. Afterwards, You need only load own images and assign products / collections to sections in the sections editor (theme customize).
Full skin import
When you upload our theme in the shopify platform, the full skin Fashion 1 is automatically imported by default. This is when both the skin colorizationskin colorization, special skin settings and skin homepage sectionsskin homepage sections are immediately merged together into a single look of a full-fledged skin.
What if you want to do a full skin import of any skin from our demo in the same way?
Especially for this, we have provided full skin import files in the theme package.
There are 2 ways to import full skin: soft and hard.
| Soft import | Hard import | |
|---|---|---|
| Saves your customized theme settings | Yes | No |
| Saves your customized header/footer/announced bar/promo section settings | Yes | No |
| Saves customized theme sections on home page | No | No |
| 100% match with the view as in the demo | No | Yes |
Soft import steps
Apply skin colors
Apply skin colors as describe in Automatic colorization with theme stylesAutomatic colorization with theme styles.
Import skin homepage sections
Import skin homepage sections as described in Steps to import preset skin homepage sectionsSteps to import preset skin homepage sections
Hard import steps
Create theme copy
For preview and safety, we recommend making changes to the copy so that nothing will break.
- Login to Your shopify store. Go to Online Stores > Themes
- Click the three dots next to the theme you want and after Duplicate.

Open theme files editor
- Click on the three dots next to the theme copy and after Edit code.

- Do not close open editor. Next step describes how to write skin settings data in the theme file.
Write skin settings data
Let's say the You want to import bags skinbags skin settings data to your theme copy:
Go to theme package folder presets/bags/config/

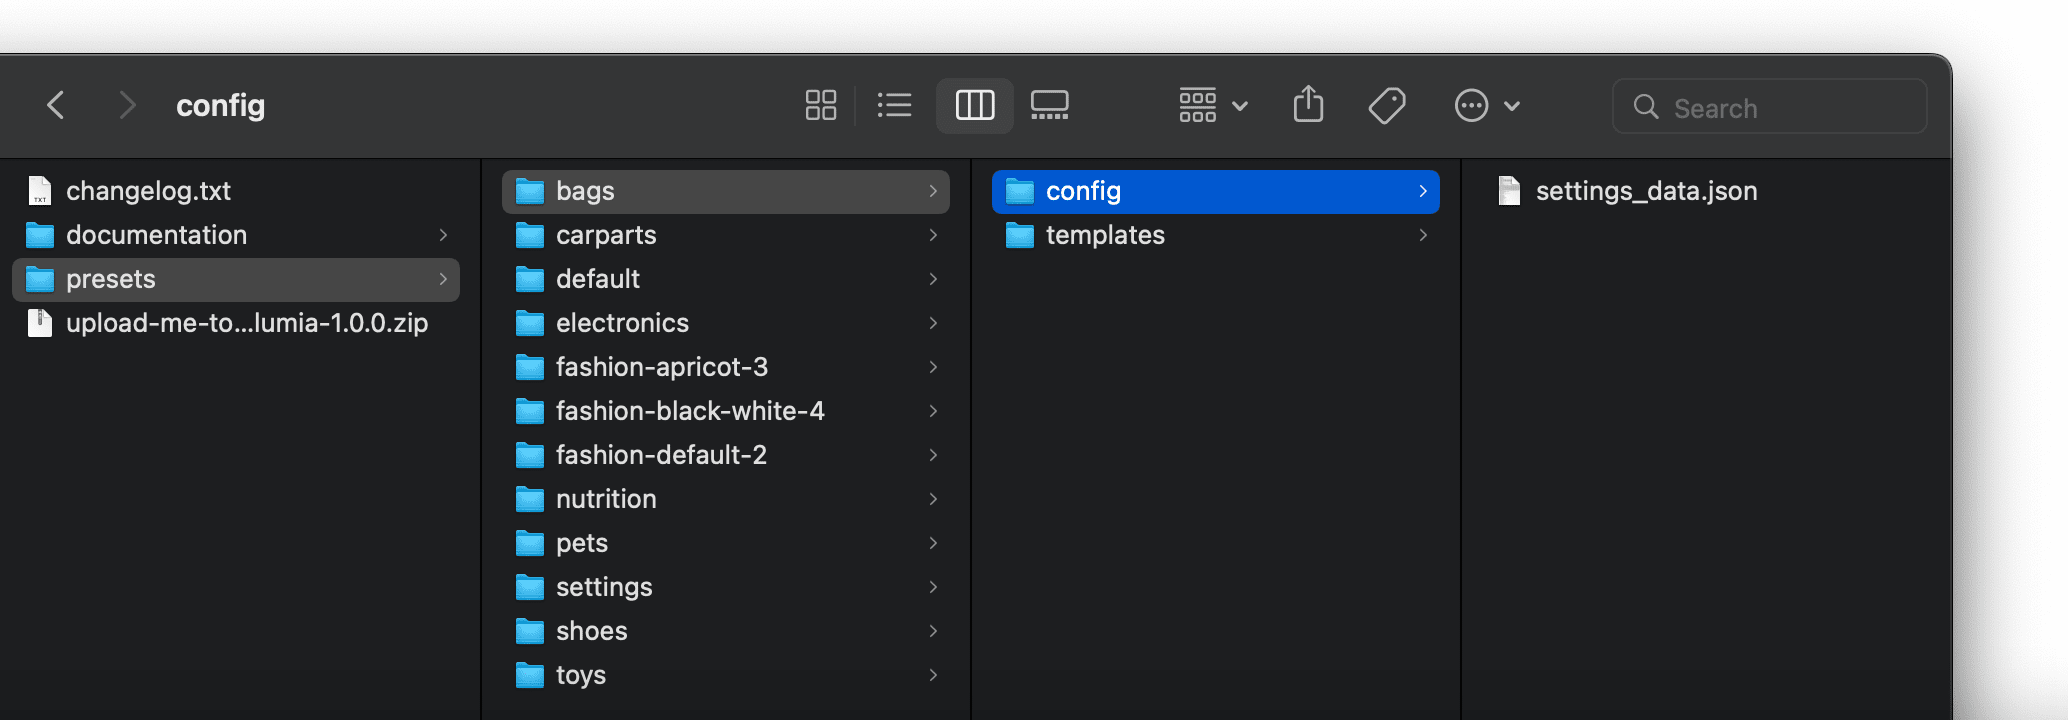
- Open the file
settings_data.jsonusing a simple text editor locally and copy its content. - Go to the theme file editor that we've opened in previous step. previous step.
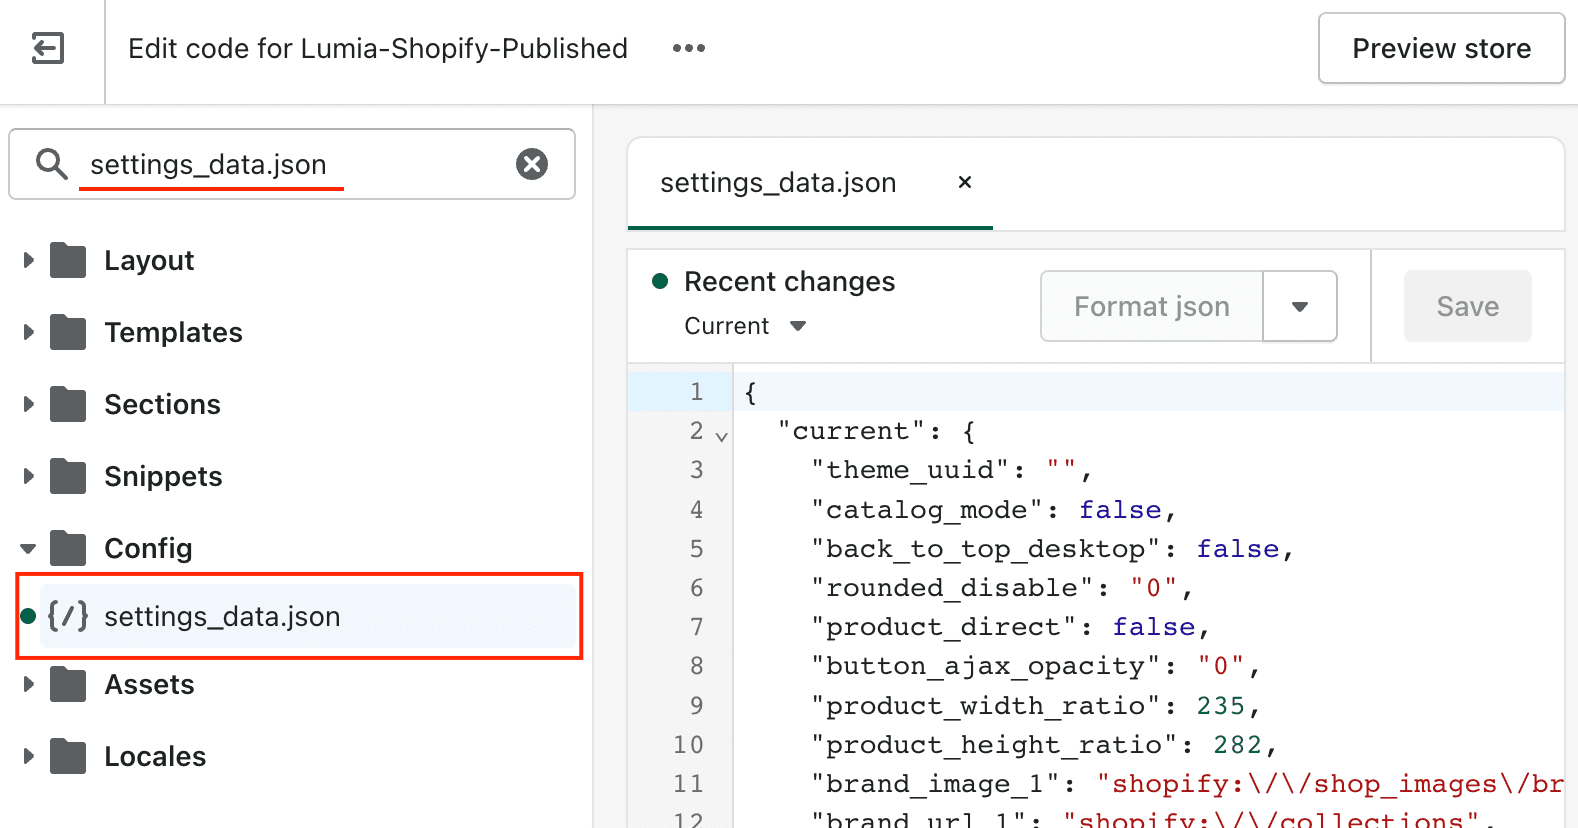
- Search the file
settings_data.jsonand click it to open in an editor.

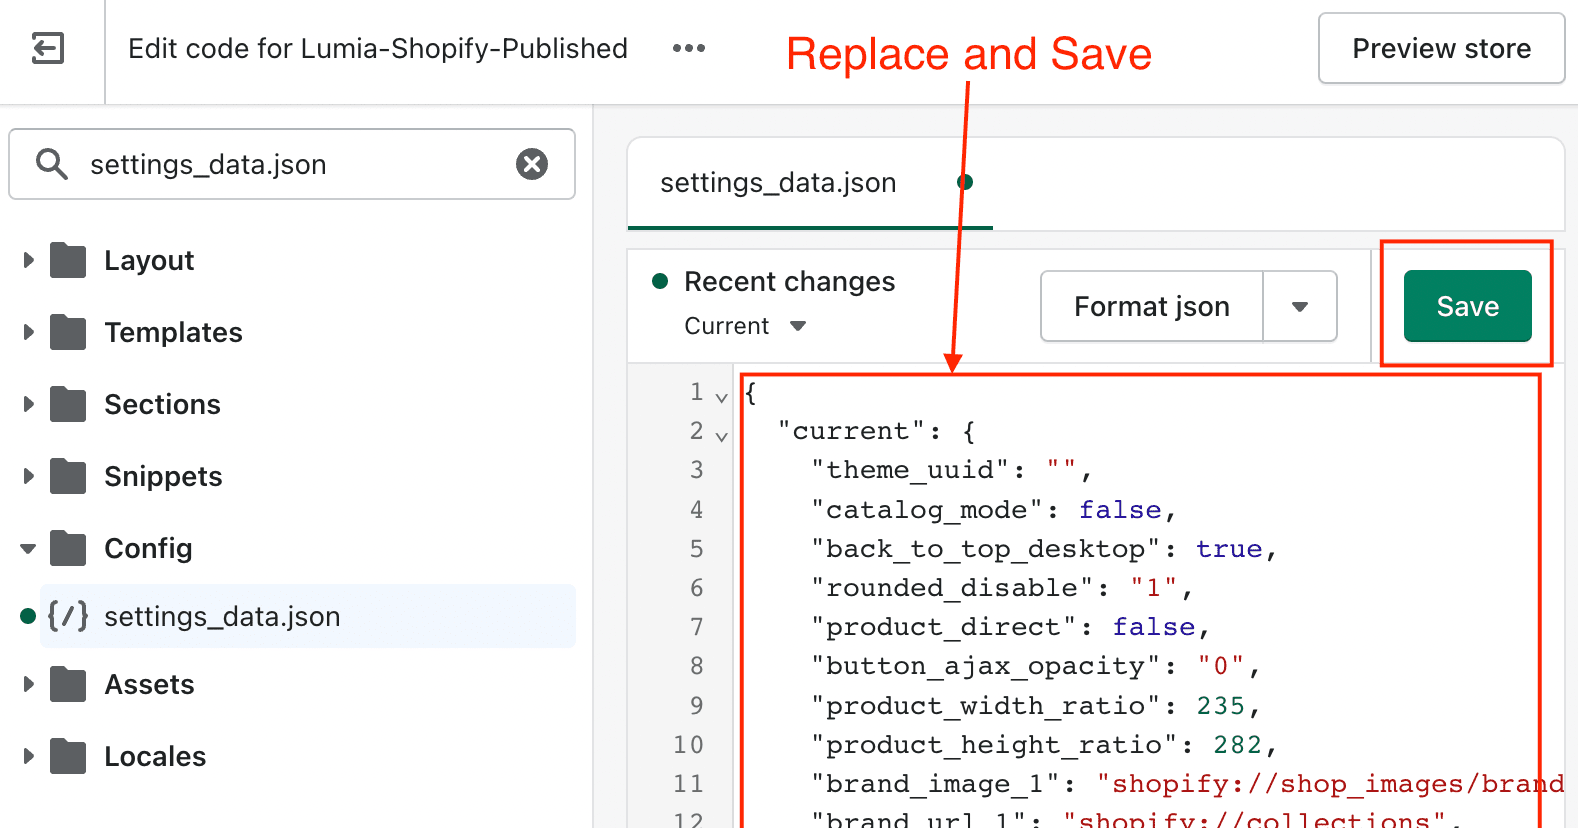
- Replace content from the local index.json and click Save.

Import skin homepage sections
Import skin homepage sections as described in Steps to import preset skin homepage sectionsSteps to import preset skin homepage sections
DONE! Thus, you can import a full skin like in our demo. Afterwards, You only need to load your own images and assign products / collections to sections in the sections editor (theme customize).