Product Badges
Product labels, also known as product badges, are good approach to draw attention to some products in a store. For example, a New badge might be added to highlight brand-new products. To draw an attention your to discounted products you could add a Sale badge. So, the most appealing products in your store can be easily found by customers, increasing the likelihood that they'll buy them.
New badge
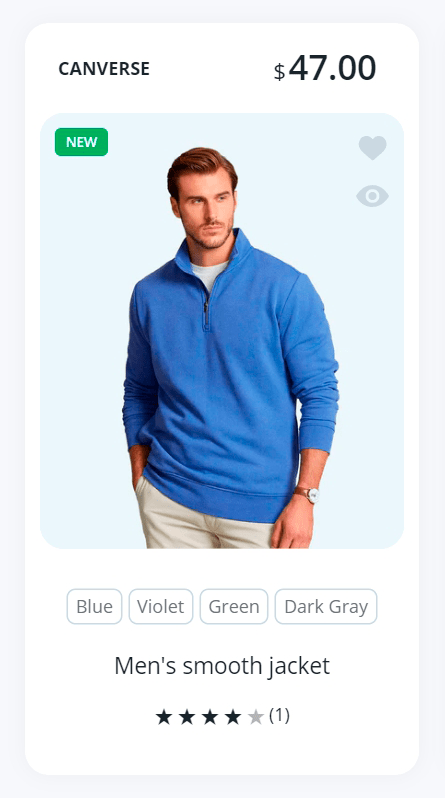
This label is automatically added for all products that have the new tag.

Follow these steps to add a tag:
- Open the specific product in Shopify.
- In the Tags section, enter tag new, or select it from the list of existing tags.
- Click Save.
Sale badge
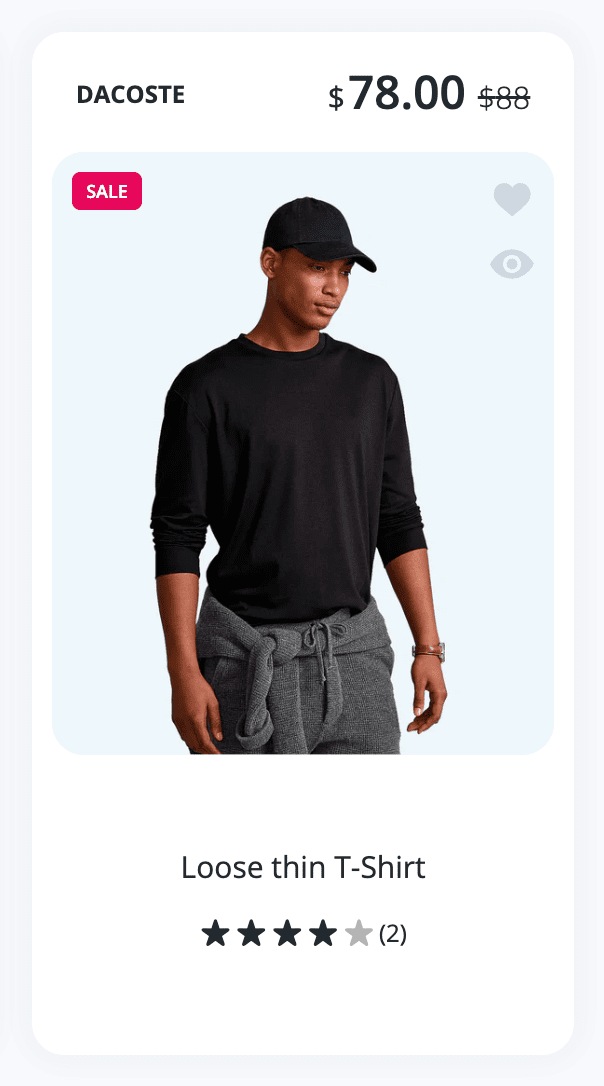
This label is automatically added for all products that have the sale price.

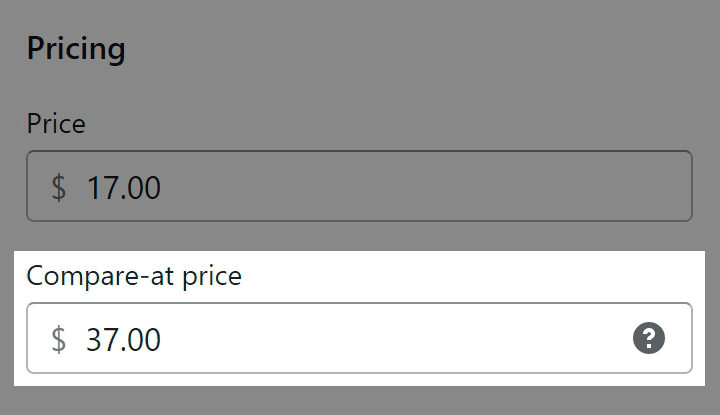
If you need to set sale prices for the product, follow the steps how to set a compare at price for a product ↗ (opens in a new tab) in the official documentation.
Enabled by default: Yes (Assigned automatically to all sales)
Visibility: Product carousel sections, product grid sections, collection page grid and collection page sections, product page sections.
Sale badge is only applicable to products that have a discount price set (compare at price greater then regular).
Assign automatically to all sales
- From your Shopify admin, go to Online Store > Themes.
- Find the Lumia theme that you want to edit, and then click Customize.
- Click Theme settings.
- Click Product badges.
- Check Show sale checkbox.
- Select Auto assigment to all sales from the Show sale badge method radio-buttons.
- Click Save.
Assign manually individually per product
Create a metafield
This first step only runs once if it hasn't been done before or metafield was deleted.
- From your Shopify admin, go to Settings > Metafields ↗ (opens in a new tab).
- Click Products.
- Click Add definition.
- In the Name field, enter badge_sale, and then select that name from the list.
- Click Select content type, and then select True or false from the list.
- Click Save.
Enable individual mode in theme settings
This second step only runs once if the option had not been set before.
- From your Shopify admin, go to Online Store > Themes.
- Find the Lumia theme that you want to edit, and then click Customize.
- Click Theme settings.
- Click Product badges.
- Check Show sale checkbox.
- Select Individually from the Show sale badge method radio-buttons.
- Click Save.
Set display for specific products
- From your Shopify admin, go to Products ↗ (opens in a new tab).
- Click a product to see its details page.
- Click on the badge_sale metafield at the bottom of the product page.
- Select True to enable or False or Clear to disable.
- Click Save.
Custom badge

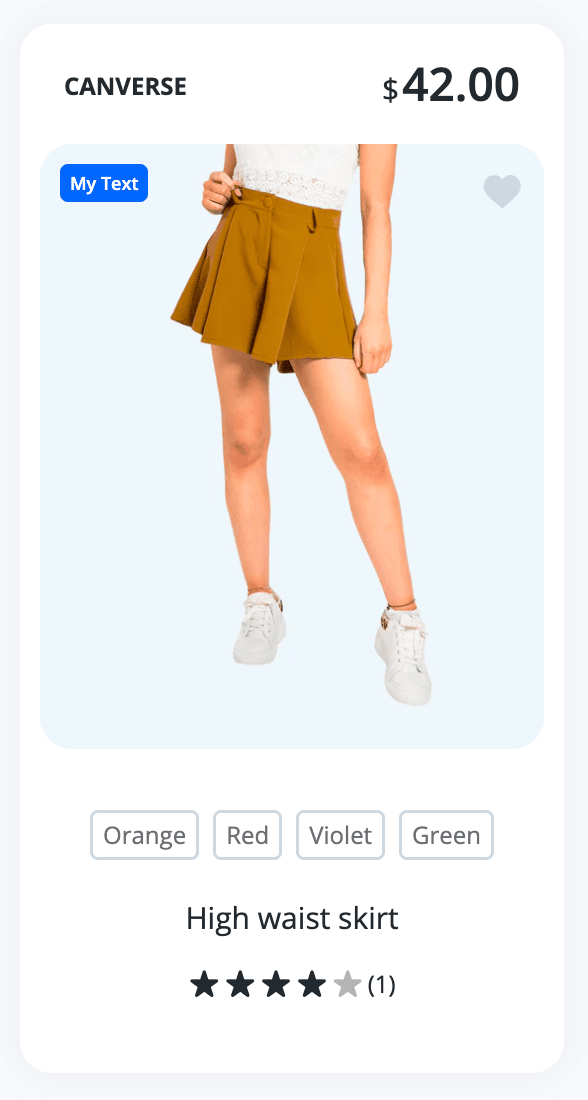
A custom badge allows you to add a unique, important short description that will make the product stand out from other products.

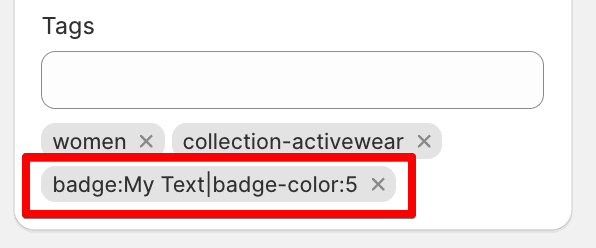
Follow these steps to add a tag:
- Open the specific product in Shopify.
- In the Tags section, enter tag
badge:My Text|badge-color:5, where 5 is a color number. Available colors are 0-6. You can check them in Theme Settings / Colors - Badges. 0 is always gray. - Click Save.
Sale ticker
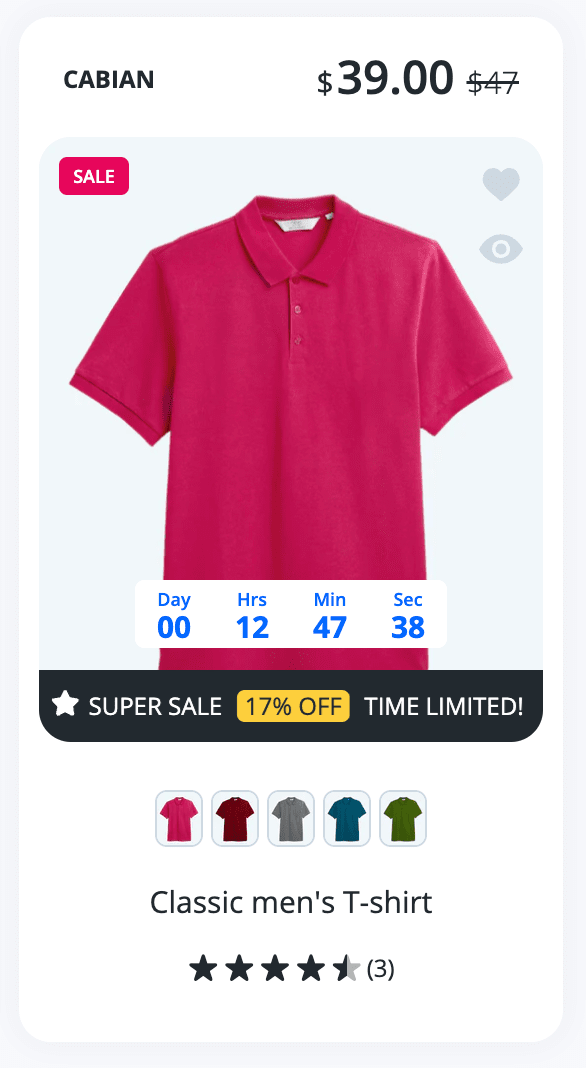
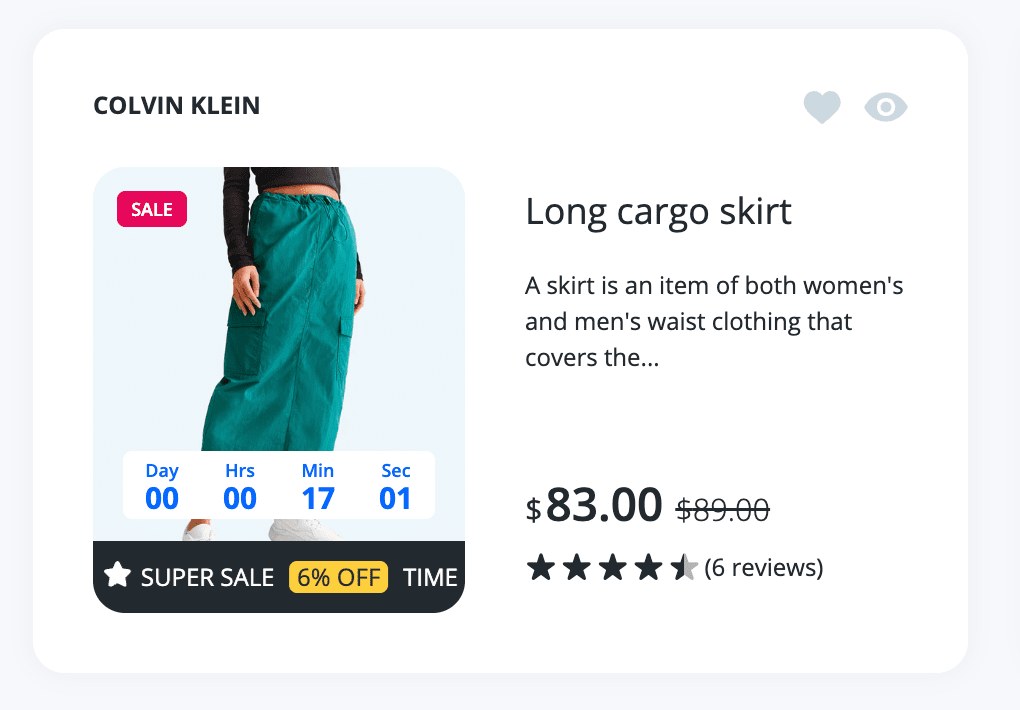
A unique feature of our theme is the ticker line both in the product card and on the main product page. Enabled by default for all discounted products to attract the attention of buyers.

Modern card | 
Horizontal card |
Enabled by default: Yes (Assigned automatically to all sales)
Visibility: Product carousel sections, product grid sections, collection page grid and collection page sections, product page sections.
The ticker is only applicable to products that have a discount price set (compare at price greater then regular).
Assign automatically to all sales
- From your Shopify admin, go to Online Store > Themes.
- Find the Lumia theme that you want to edit, and then click Customize.
- Click Theme settings.
- Click Product badges.
- Check Show sale ticker checkbox.
- Select Auto assigment to all sales from the Show sale ticker method radio-buttons.
- Click Save.
Assign manually individually per product
Create a metafield
This first step only runs once if it hasn't been done before or metafield was deleted.
- From your Shopify admin, go to Settings > Metafields ↗ (opens in a new tab).
- Click Products.
- Click Add definition.
- In the Name field, enter badge_sale_ticker, and then select that name from the list.
- Click Select content type, and then select True or false from the list.
- Click Save.
Enable individual mode in theme settings
This second step only runs once if the option had not been set before.
- From your Shopify admin, go to Online Store > Themes.
- Find the Lumia theme that you want to edit, and then click Customize.
- Click Theme settings.
- Click Product badges.
- Check Show sale ticker checkbox.
- Select Individually from the Show sale ticker method radio-buttons.
- Click Save.
Set display for specific products
- From your Shopify admin, go to Products ↗ (opens in a new tab).
- Click a product to see its details page.
- Click on the badge_sale_ticker metafield at the bottom of the product page.
- Select True to enable or False or Clear to disable.
- Click Save.
Out of stock badge


This label is automatically added for all products that don't have quantities available at any location.

Only subscription badge

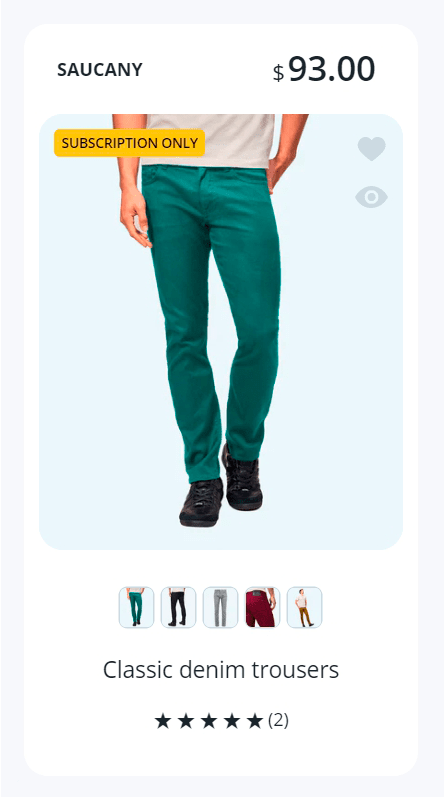
This label is automatically added for all products that have Subscribe & Save purchase options and selected option Only show this product with these purchase options.
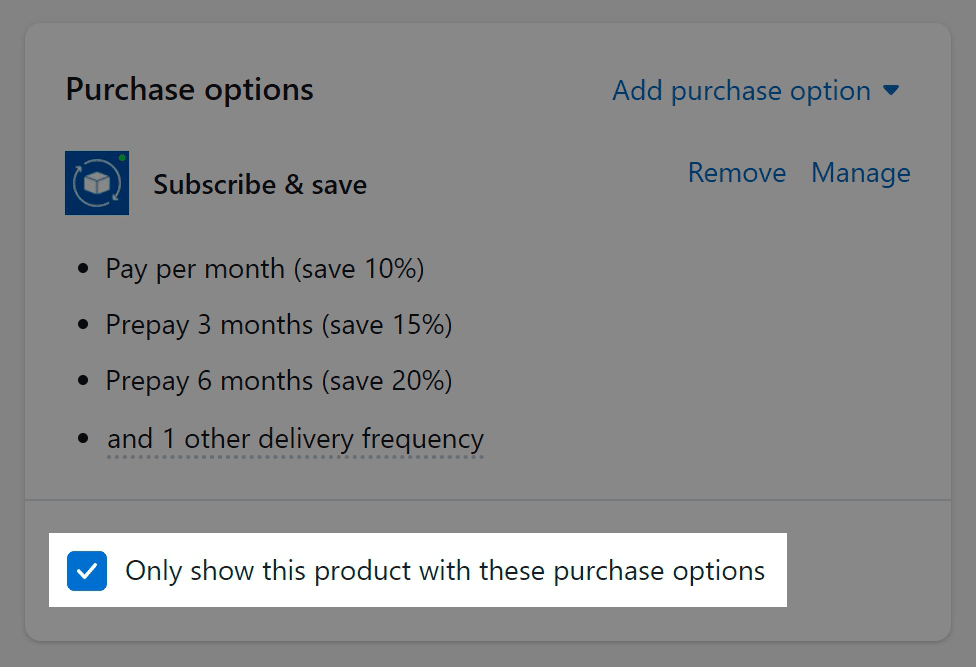
How to add Subscribe & Save purchase options read herein Subscriptions.
Auto-renews badge
![]()
This label is automatically added for all products that have Subscribe & Save purchase options.
![]()
How to add Subscribe & Save purchase options read herein Subscriptions.
